Metallic Clay Leaf Collage Project

Time: 2 Class Periods
Difficulty: Moderate
Cleanup: Soap & Water
Materials:
Difficulty: Moderate
Cleanup: Soap & Water
Materials:
Self-Hardening Clay
Fettling Knife
Pottery Tools
Roylco Leaf Texture Rubbing Plates
Mayco Magic Metallic Paints & Patinas
Paint Atomizer or Empty Spray Bottle
Cord or Wire

Use self-hardening clay, texture rubbing plates and metallic paints to create your own leaf collage. This project also has an instructional video available!
Steps
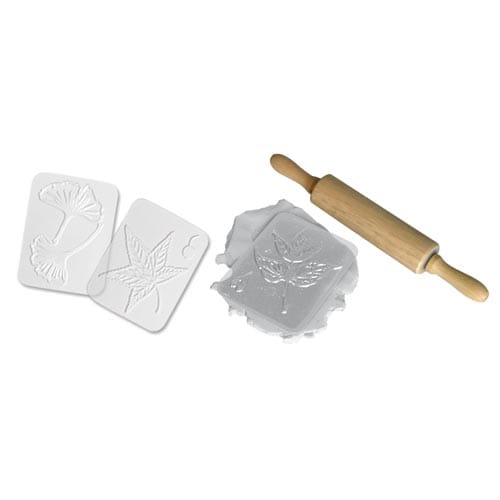 Step 1Using 1 lb. of Stonex Clay per project, roll out a ¼" thick sheet. Press a rubbing plate into the clay (the back of the plate makes a raised design).
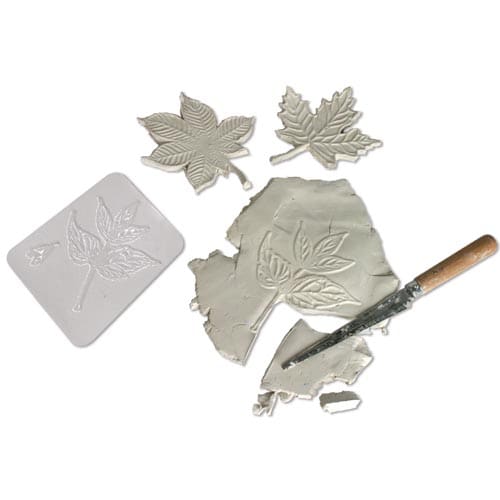 Step 2Cut out a leaf with the fettling knife. Repeat Steps 1 & 2 two more times.
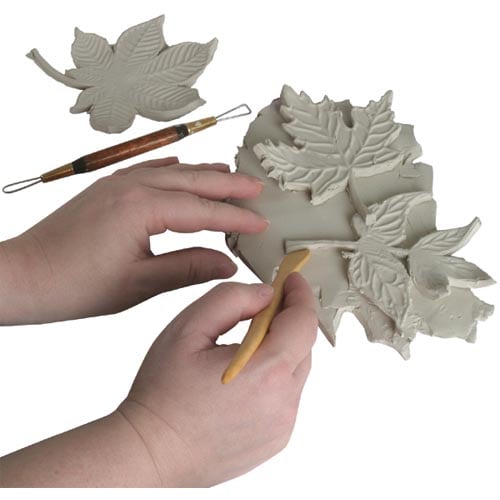 Step 3With remaining clay roll out an abstract base piece. Attach leaves, making sure that students score seams properly before joining them together.
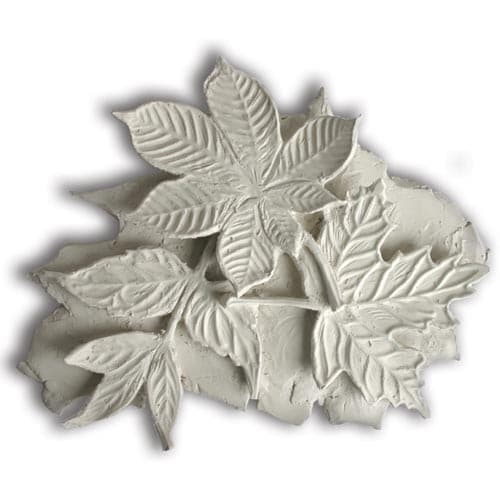 Step 4Clean up the sculpture, taking care to smooth edges. Add additional details with clay tools.
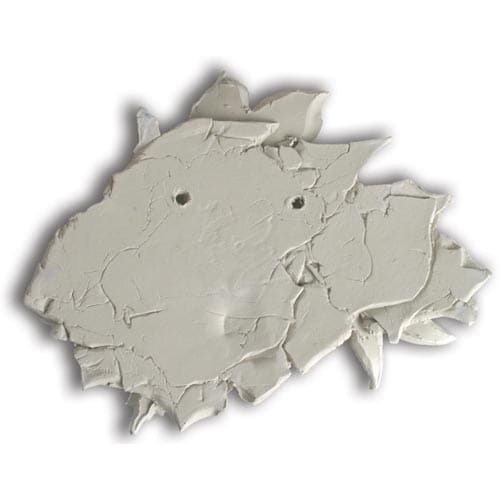 Step 5While clay is still moist, use a tool to cut two holes into the back of the base for hanging purposes. Allow sculpture to dry completely.
 Step 6Paint sculpture with Magic Metallics set, applying a different color on each leaf and the base. While the paint is still wet, spray on included patinas to create realistic-looking metallic finishes. To complete the project, insert and knot cord into holes in the base (wire may also be used).