Metallic Owl Project
Time: 2-3 Class Periods
Difficulty: Moderate
Cleanup: Soap & Water
Materials:
Difficulty: Moderate
Cleanup: Soap & Water
Materials:
Black Construction Paper
Glue Stick
1" Circle Punch
Compass
Metallic Tempera Paint
Pencil
Scissors
Paint Brushes

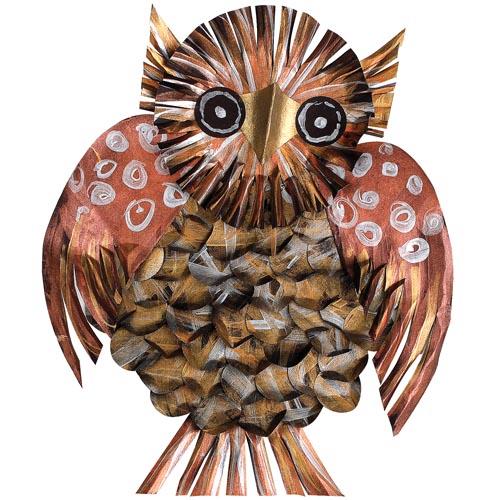
Make a metallic owl with construction paper and metallic paints. This project also has an instructional video available!
Steps
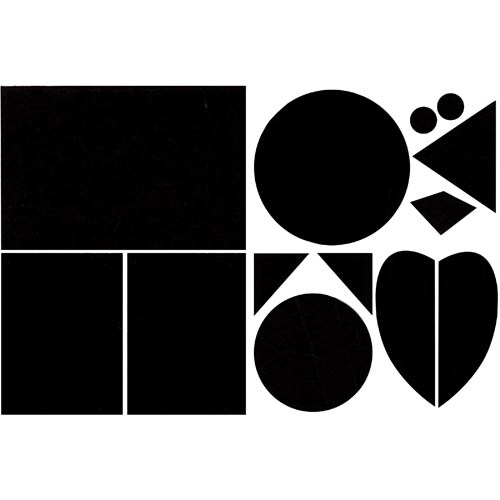 Step 1Cut a 9x12" sheet of black construction paper in half and then cut one of the halves in half again to make two 4-1/2 x 6" pieces. Out of the first half, cut a 6" circle for the body, a tail, a beak and two eyes (the eyes can be punched out using the 1" punch). Out of one of the 4-1/2 x 6" pieces cut two ears and a 4-1/2" diameter circle. Cut two wings from the remaining 4-1/2 x 6" piece of paper.
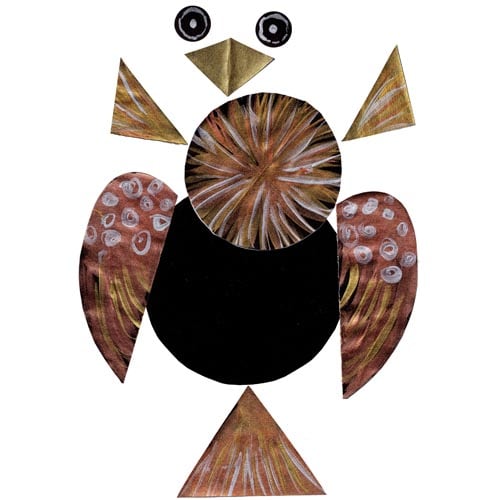 Step 2Using several colors, paint all of the pieces with metallic tempera except the 6" body circle.
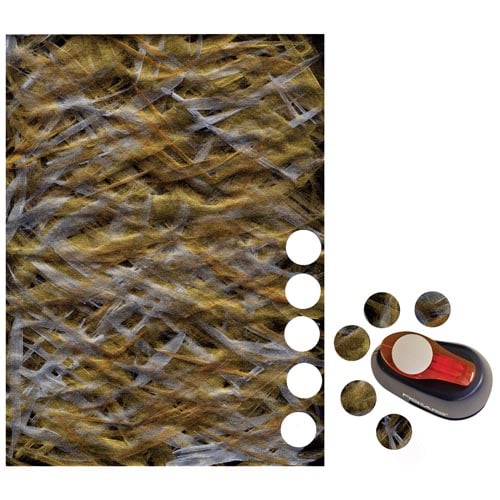 Step 3Take another piece of 9x12" black construction paper and use the metallic tempera to paint a feather-like texture over the entire sheet. Punch out approximately 40-50 1" circles from the paper.
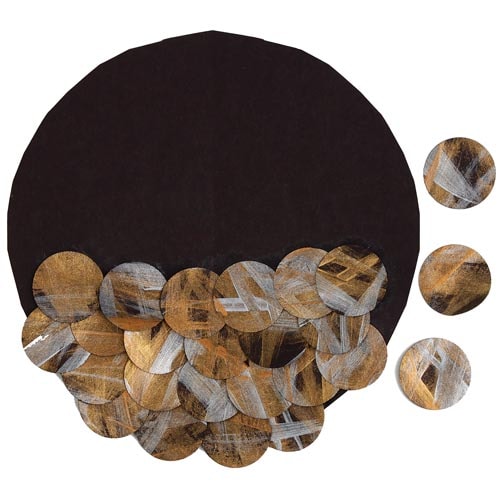 Step 4Use a glue stick to glue the 1" circles onto the body, making sure to overlap the pieces.
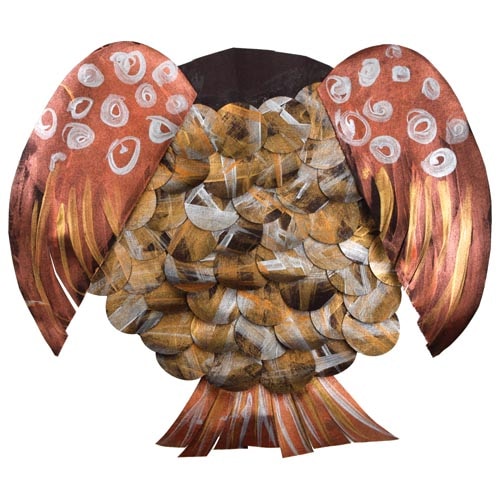 Step 5Next, use scissors to cut tail and wing feathers. Then, using the glue stick, glue the tail to the back of the body and the wings on top of the body. Pinch the feathers to make them 3D.
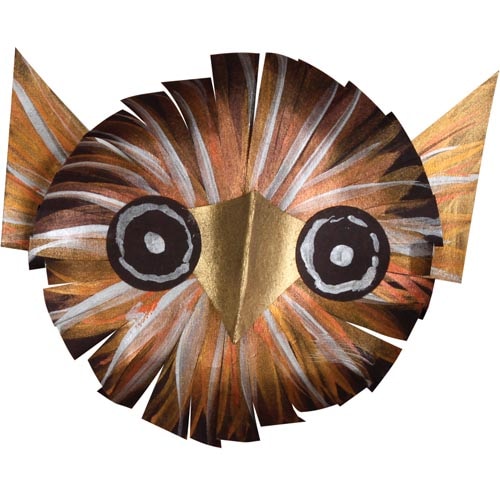 Step 6With the scissors, cut head and ear feathers. Glue the ears behind the head. Fold the beak in half and then glue it to the head creating a 3D look. Glue the eyes over the sides of the beak. To complete the owl pinch the feathers to give them some texture and glue the head to the body.