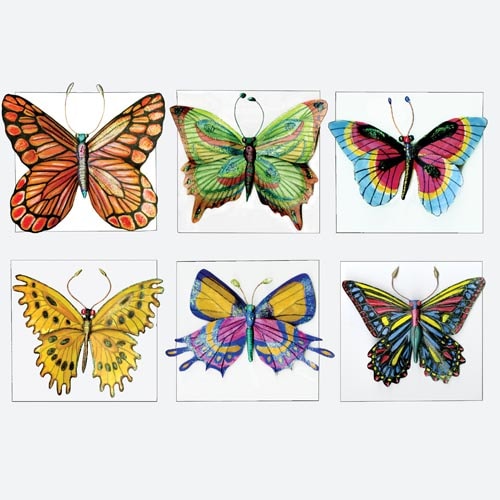
Butterfly Collection Project
Time: 2 Class Periods
Difficulty: Moderate to Advanced
Cleanup: Soap & Water
Materials:
Difficulty: Moderate to Advanced
Cleanup: Soap & Water
Materials:
Mixed Media Paper
Desk Pins
Foam Board
Air-Dry Clay
Metallic Paints
Ultra Fine Point Permanent Black Marker
Scissors
Pencil
Colored Pencils
Markers
Paint Brushes
Tacky Glue
Cardboard
Wire

Have fun making and displaying your own butterfly collection! This project also has an instructional video available!
Steps
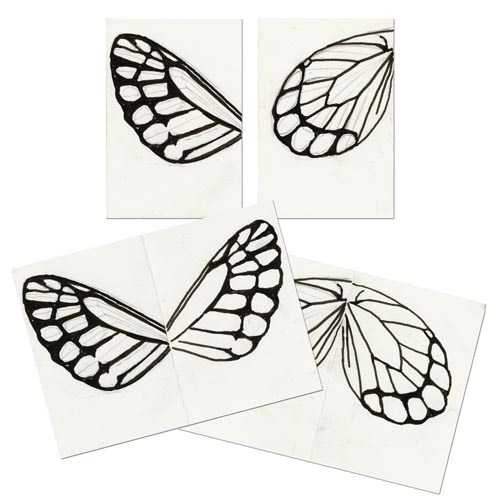 Step 1Cut a 9x12" piece of Mixed Media Art Paper into quarters. Fold one quarter in half and draw a "top" wing. Turn the folded paper over and hold it up to a window and trace the wing, unfold the paper and go over the lines with an ultra fine point permanent black Sharpie marker. Repeat Step 1 to make the "bottom" wing.
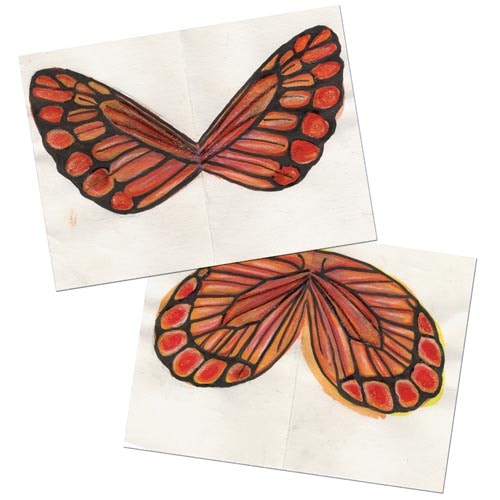 Step 2Use colored pencils or markers to block out the pattern of the wings. Enhance your design with the pearlescent watercolors to add shimmer to the wings. Cut out the wings with scissors.
 Step 3Take two pieces of thin wire (approximately 4" long) and twist 2/3 of it together. Next, sculpt a butterfly body from air-dry clay and add details. To complete the body, use the clay to add antennae to the top of the wire. Allow the body to dry and paint with metallic paints.
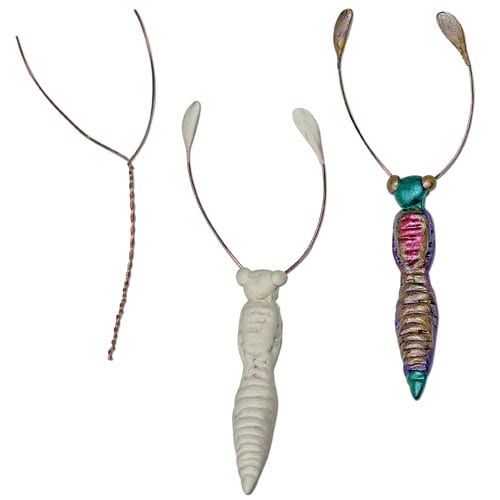 Step 4Glue two 1/4" squares of foam board together to create the mount for the butterfly. Next, glue the mount to the 5x5" Foam Board Square base. Once the mount has dried in place, glue the wings to the body. See demonstration in our YouTube video.
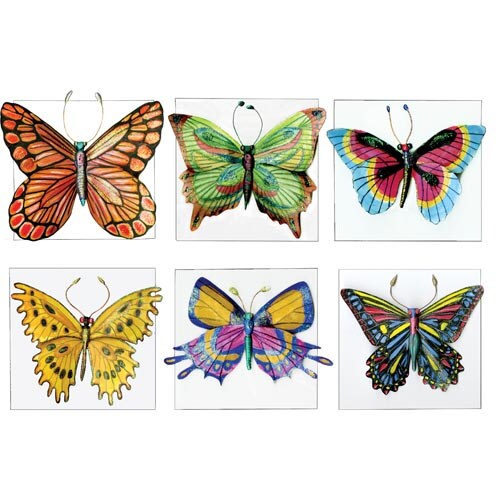 Step 5Glue the butterfly body to the mount and then stick the pin through the body into the mount.