Claycrete Hieroglyphic Project
Time: 2 Class Periods
Difficulty: Moderate
Cleanup: Soap & Water
Materials:
Difficulty: Moderate
Cleanup: Soap & Water
Materials:
AMACO Claycrete
Pencil & Paper
Assorted Colors of Tempera Paint
Paint Brush
Waxed Paper
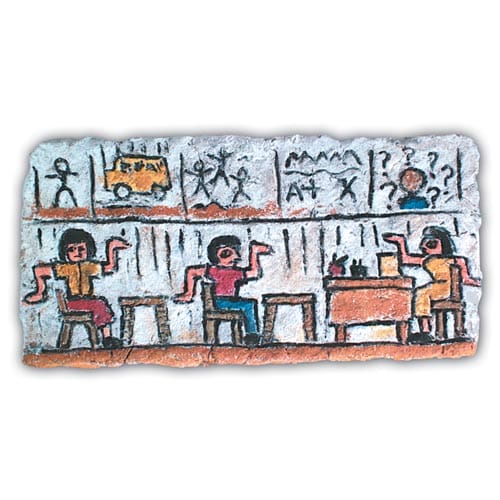
Create your own Hieroglyphic using papier mache!
Steps
- Step 1Show students examples of Egyptian Hieroglyphics and have them draw their own design.
- Step 2Mix Claycrete according to directions on package (package includes detailed instructions).
- Step 3Spread Claycrete onto the waxed paper in the shape of a rectangle, ours measures 15x8" and approximately 3/4" thick.
- Step 4While Claycrete is still damp have the students use a pencil or the opposite end of a paint brush to carve their designs into the surface of the rectangles.
- Step 5Allow Claycrete designs to dry several days.
- Step 6Once the Claycrete is dry, use the tempera to paint the indented carvings.
- Optional Tip 1To make the hieroglyphics look ancient water down some brown, ochre and gray tempera then wash slightly over the entire design. As an added effect, you can also wash only in desired areas like the example above.