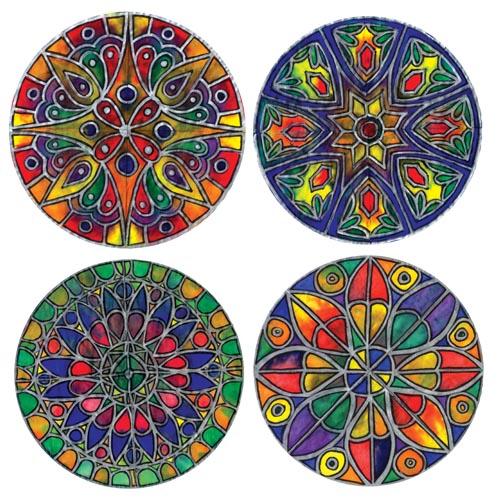
Color Diffusing Rose Window Project
Time: 2 Class Periods
Difficulty: Easy
Cleanup: Soap & Water
Materials:
Difficulty: Easy
Cleanup: Soap & Water
Materials:
Project Kit (see Products Used below steps)
Paint Brush
Water Bowl
Materials needed if not using Project Kit:
Color Diffusing Circles
Water-Based Markers
Silver Sharpie Marker
Black Sharpie Marker
Paint Brush
Water Bowl

Use diffusing paper and markers to create the look of "stained glass"! This project also has an instructional video available!
Click here to print a PDF of this projectSteps
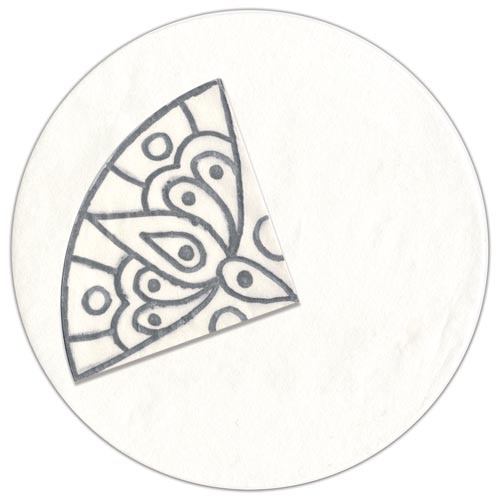 Step 1Fold the color diffusing circle into quarters and use a Metallic Sharpie Marker to draw a design on the first quarter.
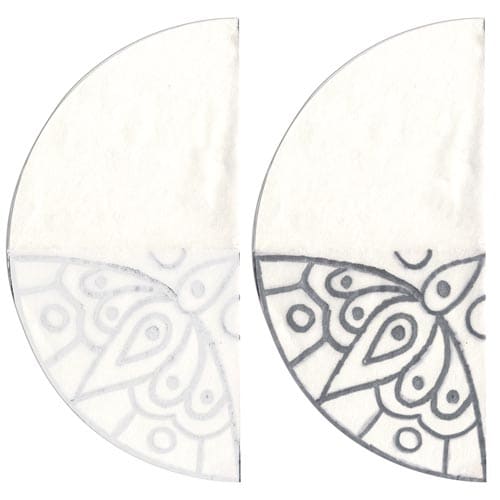 Step 2Unfold once, so that half of the paper is showing. Flip the half circle over and trace the other side of the design where it has bled through the paper.
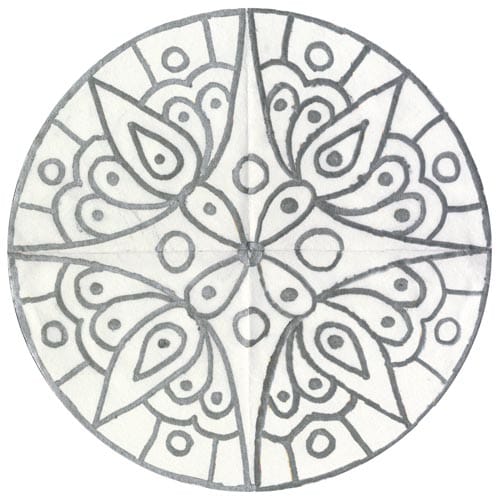 Step 3Repeat tracing on next two sections until the entire circle is finished and has a symmetrical design covering the entire sheet.
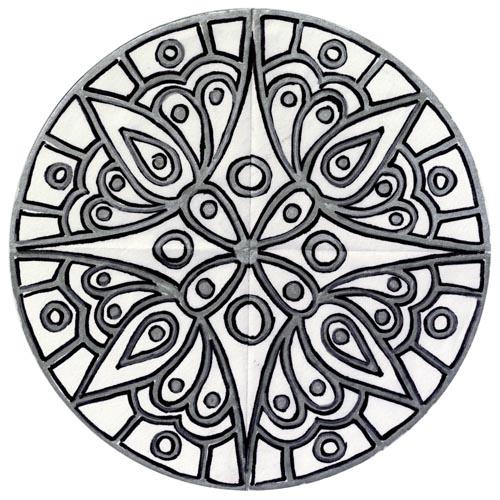 Step 4Outline the Metallic Sharpie Marker with Black Sharpie Marker to highlight the Metallic Sharpie and give it a shadowy look.
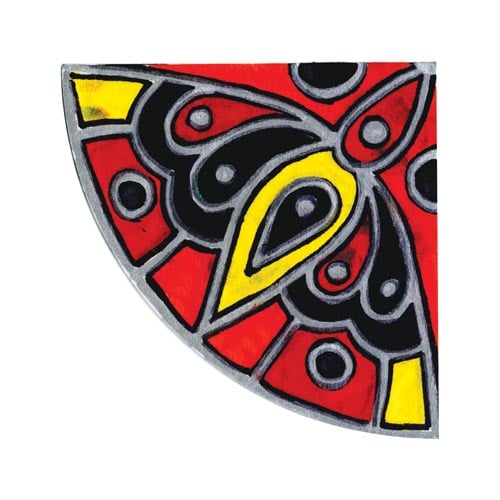 Step 5Fold the circle into quarters again. On the top layer, fill in the white spaces with watercolor markers; this example uses Prang Classic Markers.
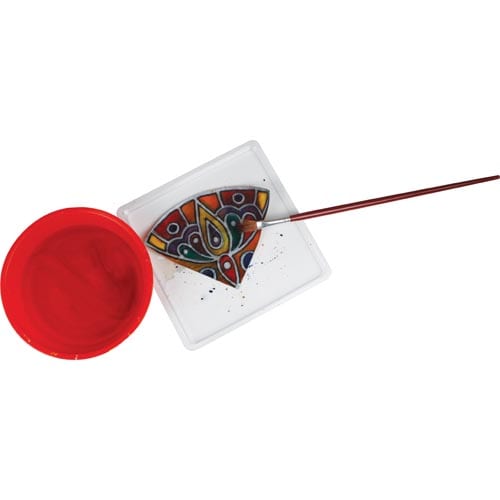 Step 6Use a stiff paint brush to saturate the watercolor marker areas with water. Keep saturating the marker until it bleeds through all four layers of the diffusing paper.
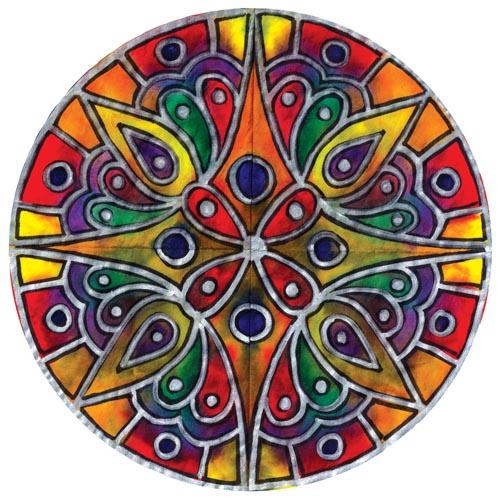 Step 7Unfold the color diffusing paper and allow design to dry.