Egyptian Portrait Mask Project

Time: 2-3 Class Periods
Difficulty: Moderate to Advanced
Cleanup: Soap & Water
Materials:
Difficulty: Moderate to Advanced
Cleanup: Soap & Water
Materials:
Creativity Street Paperboard Mask
12x18" Mixed Media Paper
Metallic Gold Paint
Blue Paint
Fine Tip Black Sharpie Marker
Acrylic Gemstones
Scissors
Brushes
Tape
Glue
Pencil
Air-Dry Clay (optional)

Create an Egyptian mask! This project also has an instructional video available!
Steps
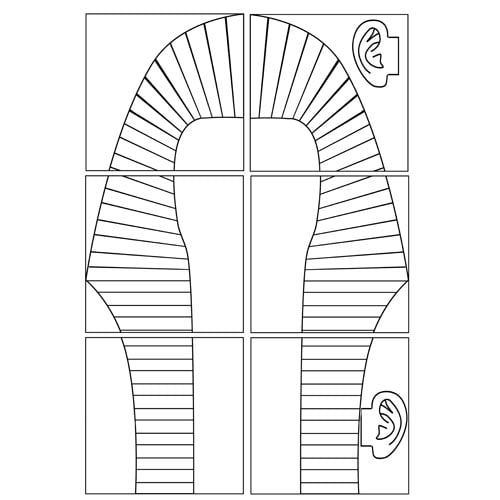 Step 1Print out our 7-piece King Tut mask template. Cut out each outline and tape the pieces together (except the beard), lining up the outline to form the headpiece, which is called the nemes. Trace the ears and nemes template on a sheet of 12x18" mixed media paper. Trace the beard pattern in the center of the sheet. For a visual demonstration, watch our YouTube Video.
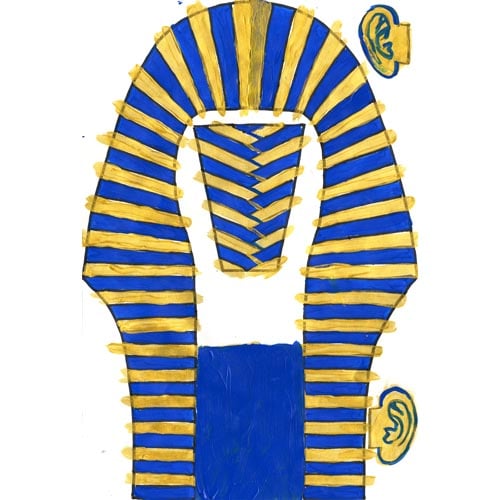 Step 2Paint every other strip of the nemes with metallic gold acrylic, keeping the pattern symmetrical on both sides. Continue the pattern on the beard, and paint the ears gold, too. When finished with gold, paint the remaining parts blue. Paint a 5" section of the center blue as well; this will be the center of the nemes at the top of the mask. Once the paint is dry, cut all the pieces. Cut the nemes in half. Outline each piece with a black Sharpie marker.
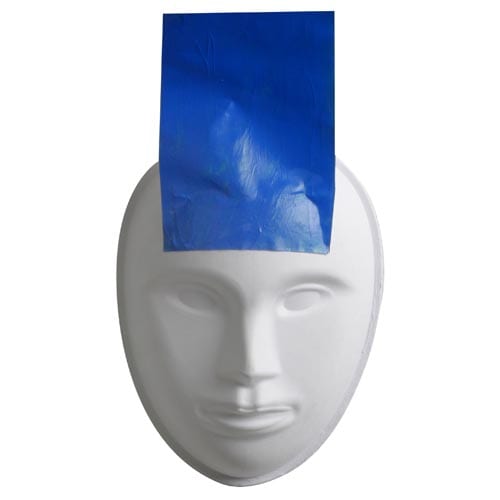 Step 3Glue the blue section to the forehead of the paperboard mask.
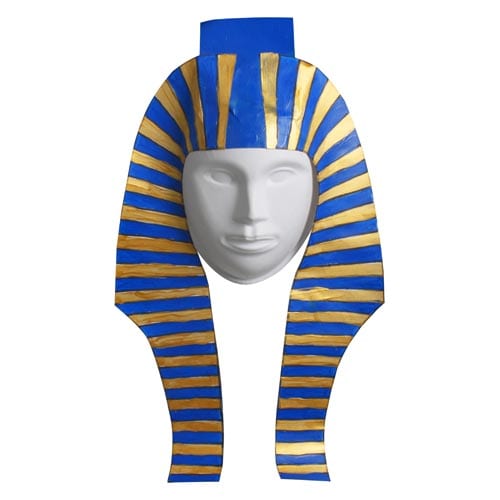 Step 4Glue the nemes pieces to the mask on either side of the blue center section, then trim off the excess blue at the top.
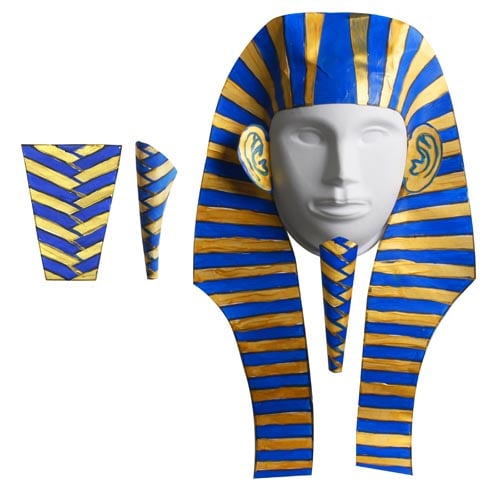 Step 5Roll the beard into a cone shape and attach with glue. Glue the ears in place.
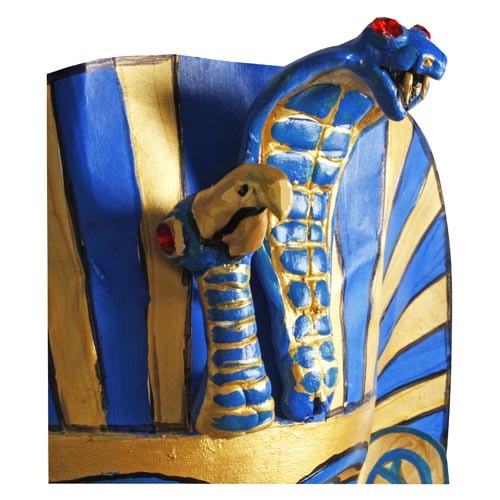 Step 6Optional: Sculpt figurines with air-dry clay to add to the top of the nemes, if desired. Our example features a cobra and a vulture, which symbolize lower and upper Egypt.
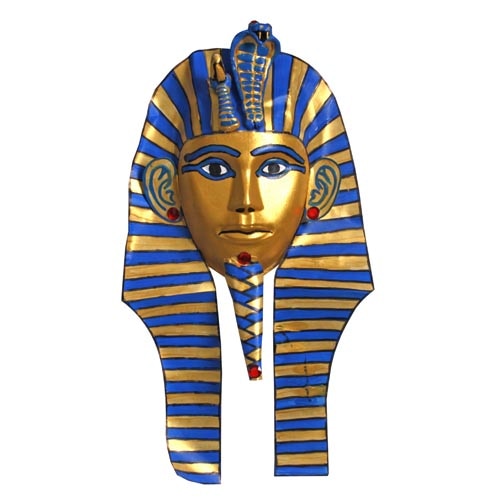 Step 7Paint the face with gold acrylic. Add details with more paint and gemstones.