Glitter Glue Pour Painting Project
Time: 1 Class Period
Difficulty: Easy
Cleanup: Soap & Water
Materials:
Difficulty: Easy
Cleanup: Soap & Water
Materials:
White Glue
Foam Board Sheets
Acrylic Paints in assorted colors
Glitter Glue in assorted colors
Plastic Cups
Craft Sticks (for stirring)
Water
Old cookie cooling racks or oven racks (optional)
Marbling tray or drip pan (optional)

Steps
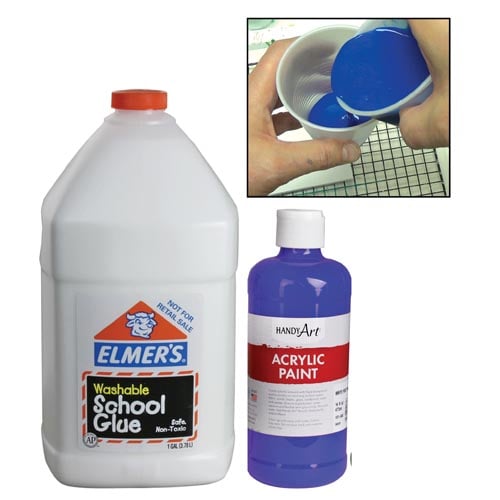 Step 1Dirty Pour Method: Mix equal parts of Elmer's Washable School Glue and Handy Art Acrylic Paint in a plastic cup. Add water until the mixture has a pourable consistency, stirring well. In separate cups, repeat this step with all the colors you want to use.
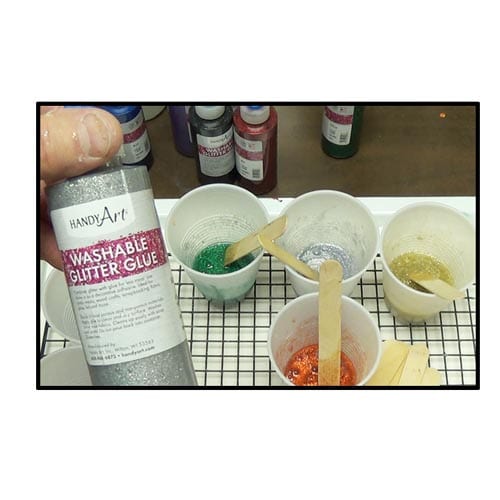 Step 2For glitter effects, mix Handy Art Washable Glitter Glue and water in a plastic cup until the mixture has a pourable consistency. In separate cups, repeat this step with all the glitter colors you want to use.
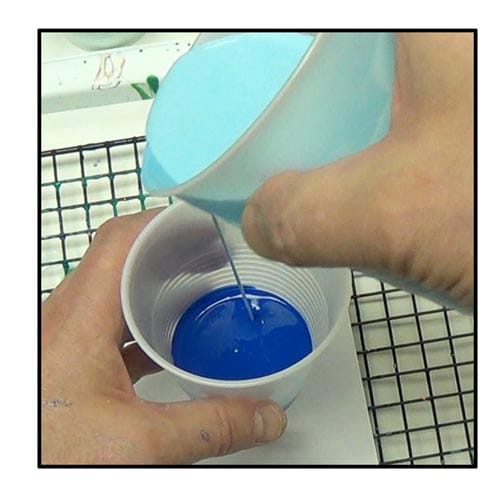 Step 3Slowly pour several colors into an empty plastic cup, one at a time. Do not stir.
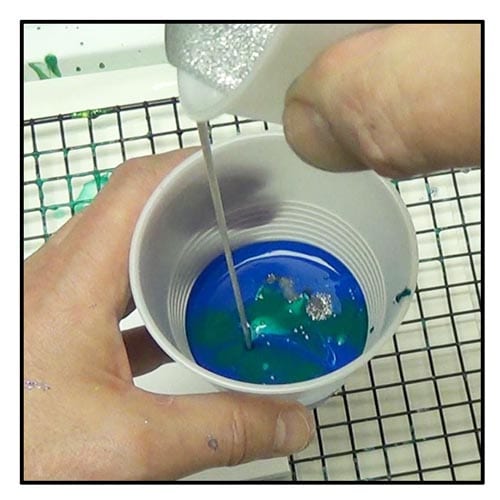 Step 4Add any glitter colors last.
 Step 5For best results, place an old baker's cooling rack or oven rack on top of a marbling tray or drip pan. Place a piece of foam board on top of the cup, hold tightly and flip over quickly, setting the foam board on the rack. Wait a moment for the paint to settle to the bottom, then quickly remove the cup. Excess paint will drip through the rack to the tray beneath, making cleanup easier.
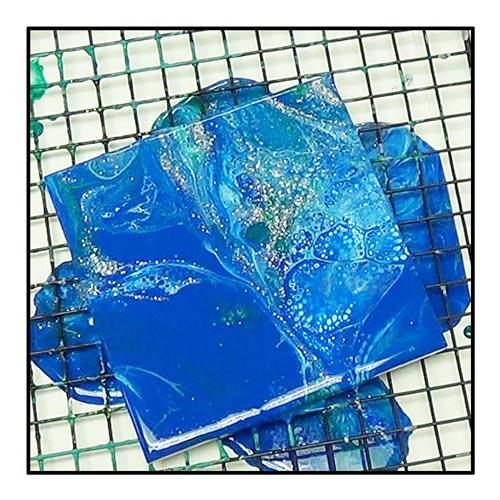 Step 6Let the paint spread; you can also pick up the foam board and tilt it in various directions so the paint covers the entire surface. Watch our YouTube video for optional tips, including adding lubricant to create cells within the paint!
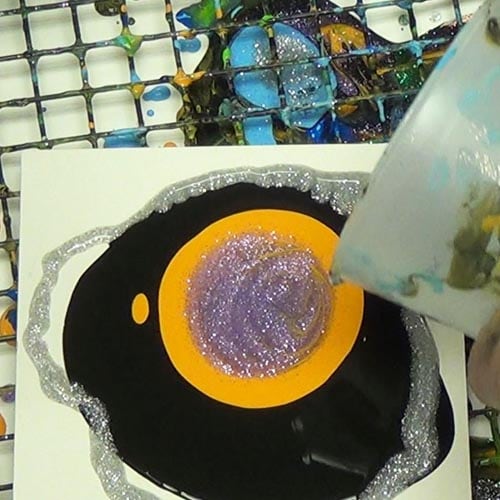 Step 7Free Pour Method: Mix all the colors of paint and glitter glue you want to use in separate cups, as described in Steps 1 and 2. Once all of your colors are ready, pour a single color onto a piece of foam board, dripping or drizzling however you want. Repeat with a second and third color.
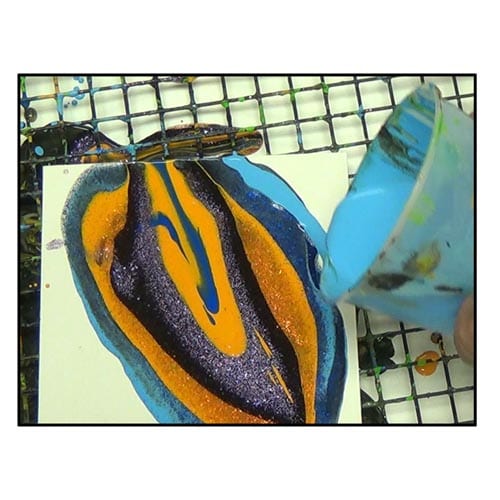 Step 8Add as many paint and glitter colors as you like; you can repeat colors if you want.
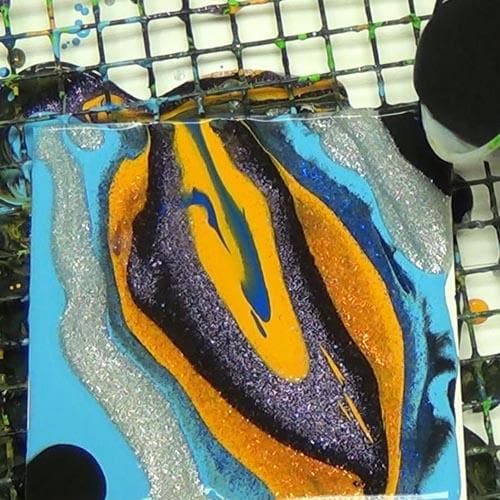 Step 9Let the paint and glitter colors spread; pick up the foam board and tilt if necessary.
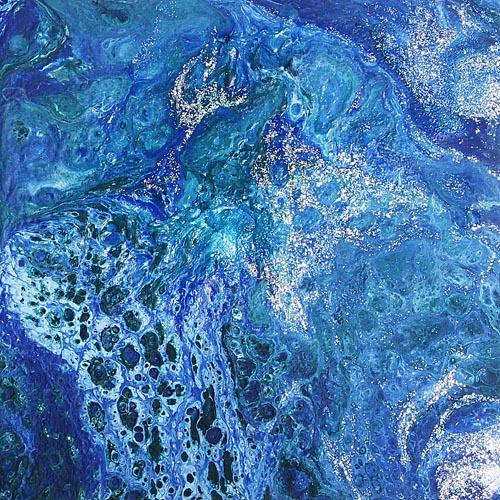
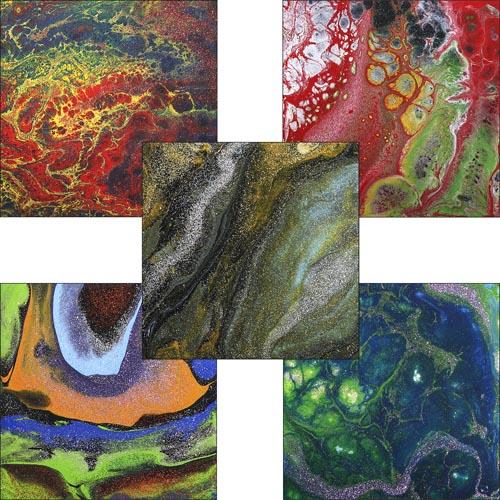 Step 10Remember, each piece will be unique. Here are some examples of the pour paintings we created.