Self-Portrait Collage Project
Time: 1-3 Class Periods
Difficulty: Moderate
Cleanup: Soap & Water
Materials:
Difficulty: Moderate
Cleanup: Soap & Water
Materials:
Patterned Paper
Grafix Clear Film
Fine Point Black Sharpie
Black Cardstock
Scissors
Pen/Pencil
Glue Stick
Tape
Portrait-Style Photographs
Printer/Copier
White Paper

Create unique self-portraits! This project also has an instructional video available!
Steps
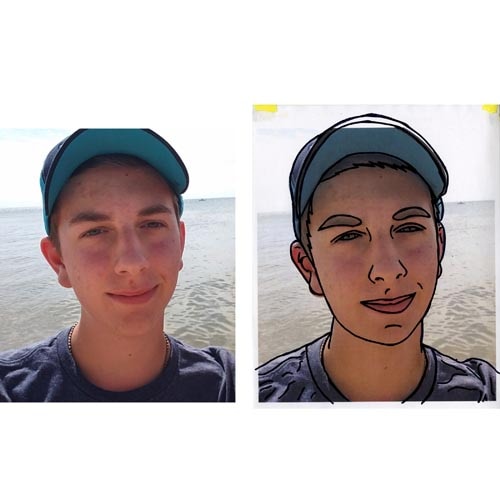 Step 1Print a portrait on 8-1/2 x 11" paper. Tape a piece of Grafix clear film to the top of the printed portrait. Trace the facial features with black Sharpie.
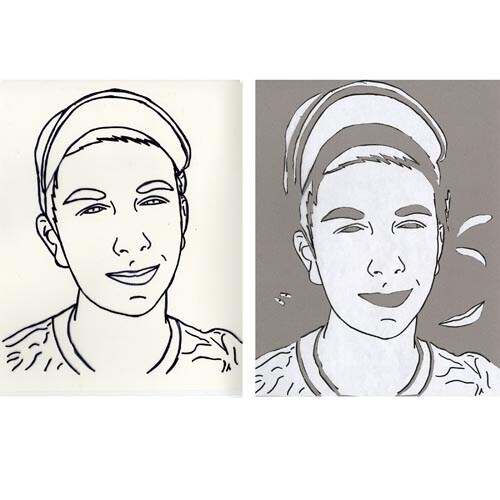 Step 2Photocopy the sheet of Grafix clear film to produce a black and white copy. Cut out main features (hair, eyes, shirt, mouth, head, etc.) Depending on the arrangement, you may need 2 copies in order to cut out all the features.
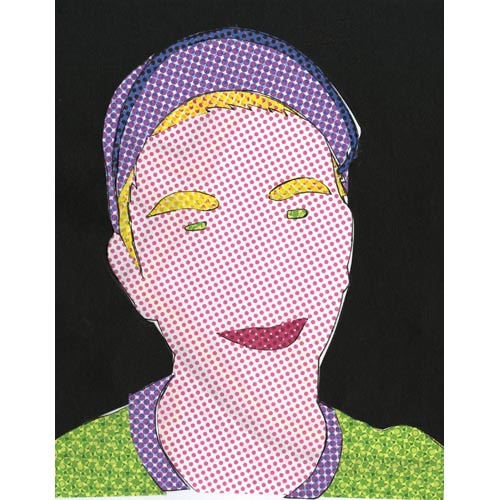 Step 3Trace each feature onto patterned paper and cut it out. Using the original portrait and outline as a guide, glue the patterned paper onto black cardstock.
 Step 4Tape the Grafix clear film sheet to the cardstock, lining up the features. Trace over the lines if needed to fill in spaces and darken the outlines.
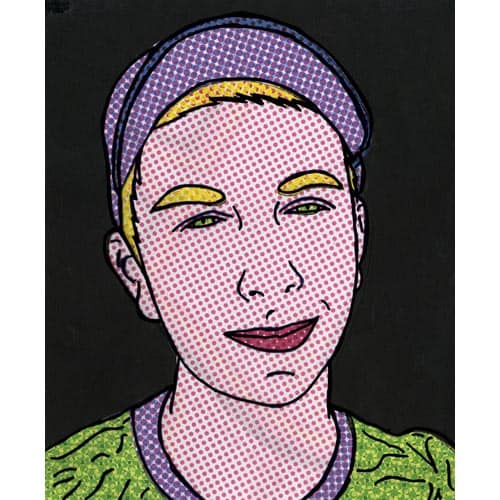
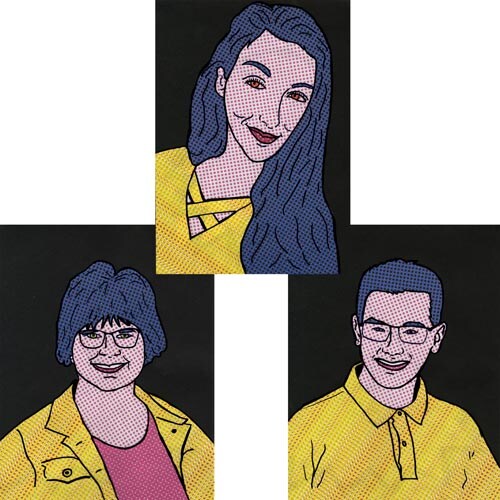 ExamplesCreate an entire classroom of patterned paper portraits.