Renaissance Sun Tooling Foil Project
Time: 2-3 Class Periods
Difficulty: Advanced
Cleanup: Soap & Water
Materials:
Difficulty: Advanced
Cleanup: Soap & Water
Materials:
Project Kit (see Products Used below steps)
Ball Point Pen
Foam Board
Scissors
Paint Brush
Paper Towel or Sponge
Materials needed if not using Project Kit:
Tracing Paper
Chipboard
Black Acrylic Paint
Decorator Tooling Foil
Tooling Foil Tools
Ball Point Pen
Foam Board
Scissors
Paint Brush
Paper Towel or Sponge

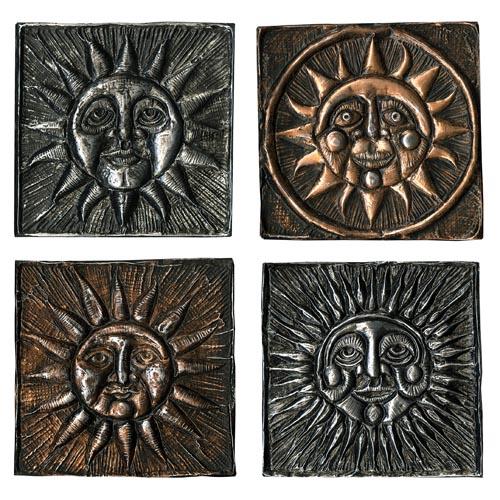
Use tooling foil to create a Renaissance Sun. This project also has an instructional video available!
Click here to print a PDF of this projectSteps
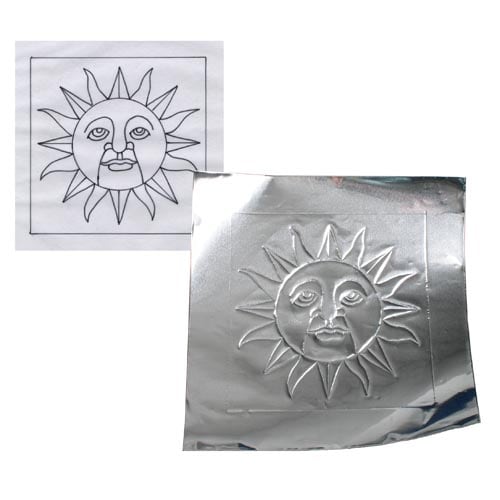 Step 1Look at pictures of Renaissance suns. Draw a 6x6" outline on tracing paper and design a sun within the outline. Place a piece of 8x8" foil on top of a piece of foam board. Put the tracing paper on top of the foil and trace over the sun design with a ball point pen; this will leave a scribed image on the foil.
View and print a template of the sun here.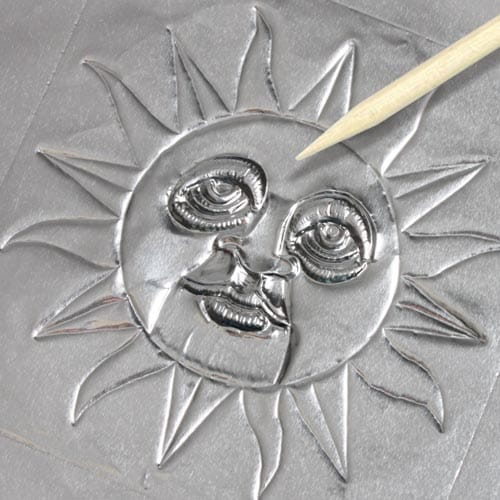 Step 2With the point of the modeling tool, emboss the eyes and mouth. Outline the nose. Work from the front and back as necessary to pull and push the foil into the correct shape.
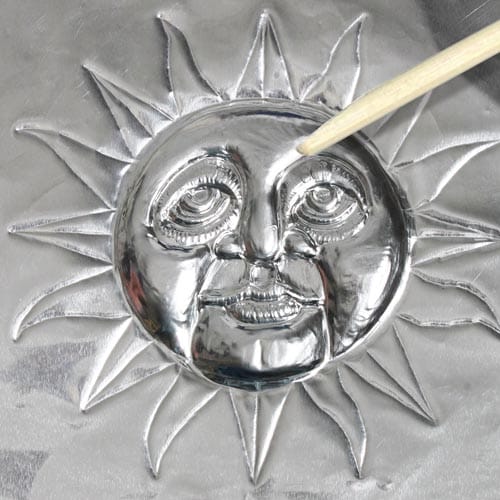 Step 3With the rounded end of the modeling tool, use a circular motion to push out the chin, nose, cheeks and forehead from the back. The harder you press, the more the areas will pop out. Be careful not to press too hard, or you will poke a hole in the foil.
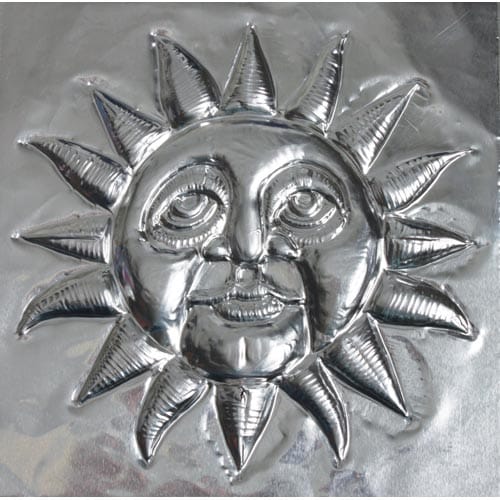 Step 4Emboss the sun’s rays in the same manner.
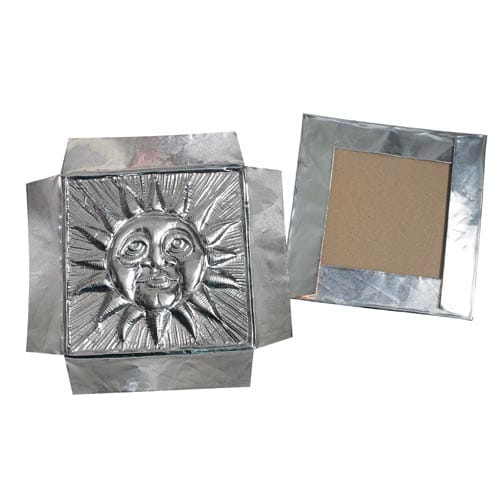 Step 5Cut about 1" off each corner of the foil, at a slight angle, to create flaps. Place the foil on a piece of 6x6" chipboard, fold the flaps over to mount.
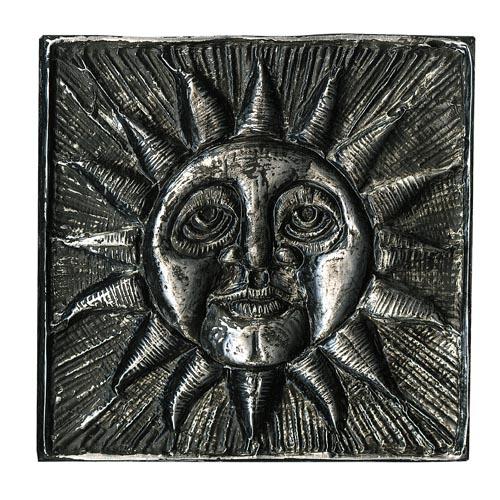 Step 6To make your design a resist, paint the sun with a light coat of black acrylic paint. Using paper towels or a damp sponge, wipe the paint off the highlights.