Stained Glass Suncatcher Project

Time: 2-3 Class Periods
Difficulty: Advanced
Cleanup: Soap & Water
Materials:
Difficulty: Advanced
Cleanup: Soap & Water
Materials:
Glass Grinder
Glass Cutter
Wheeled Glass Nippers
Breaker/Grozer Pliers
Running Pliers
Stained Glass Sheets or Pieces
Soldering Iron
Solder
Flux Soldering Paste
Wire
Copper Foil Tape
Jewelry Chain
Pencil
Paper
Scissors
Glue

Create your own stained glass pieces! This project also has an instructional video available!
Steps
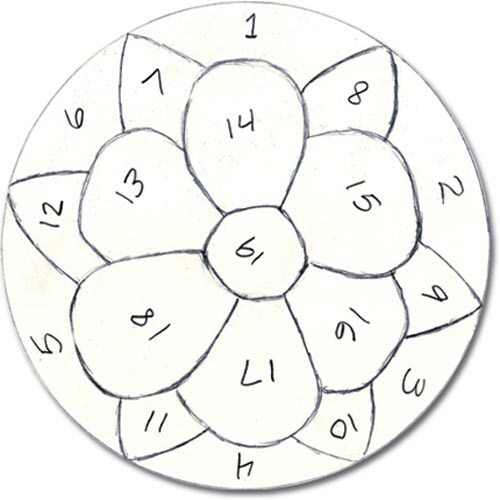 Step 1Draw a design template. Our example is on a 7" diameter circle. Number each part and cut out.
 Step 2Choose your colors and glass pieces that will fit your design. Lay sections of design on the glass and use the glass cutter to score the glass so you can snap it off close to the edge. (It is a good idea to wear safety goggles while breaking, snapping, nipping and grinding glass.)
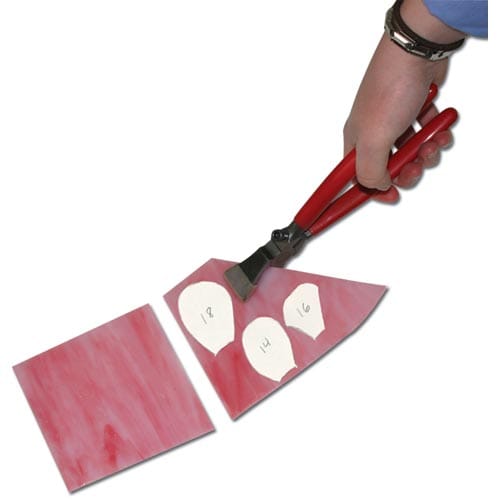 Step 3Snap glass at the score line using running or breaker pliers.
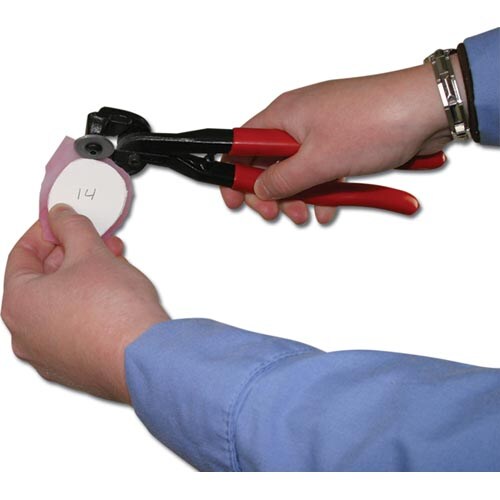 Step 4Remove most of the glass surrounding each piece of the design using wheeled glass nippers.
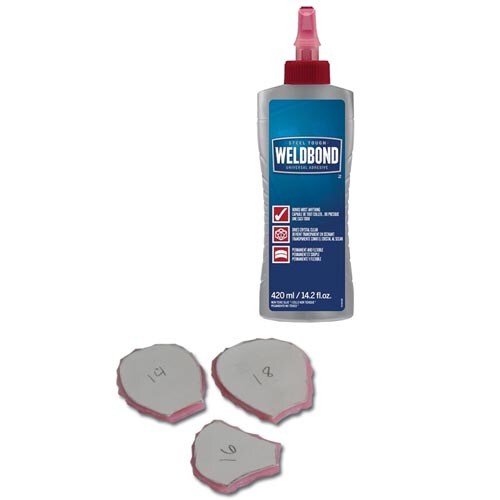 Step 5Glue the design template pieces onto the glass so the paper doesn't slide around.
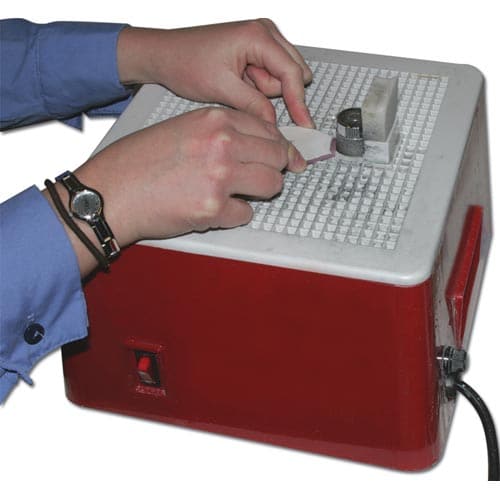 Step 6Use the power grinder to smooth all of the edges of glass so that each piece matches the paper template. (It is a good idea to use a dust mask while grinding glass.)
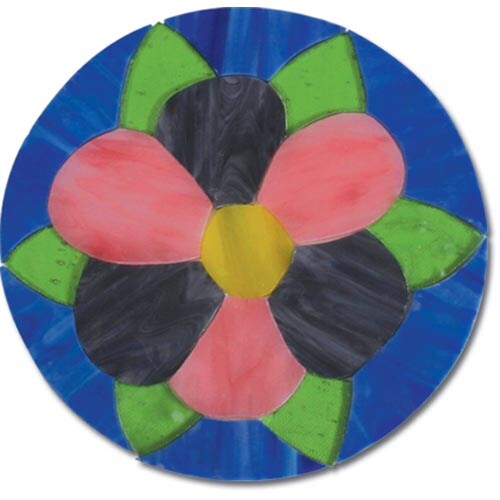 Step 7Lay out all the glass pieces to make sure they fit together properly. Grind down problem areas.
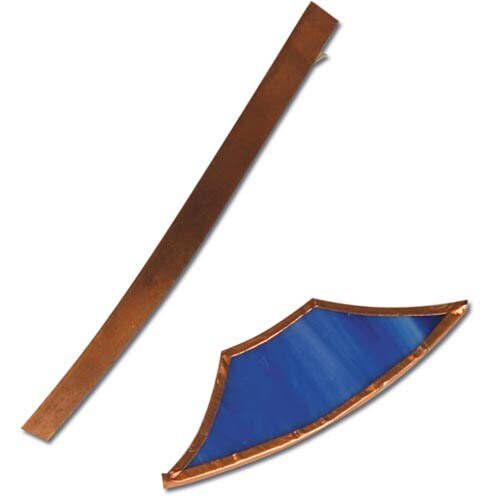 Step 8Wrap the edges of each piece of glass with copper foil tape.
 Step 9Brush a coat of the flux paste onto every bit of the copper foil. Solder all of the pieces together using the iron and solder.
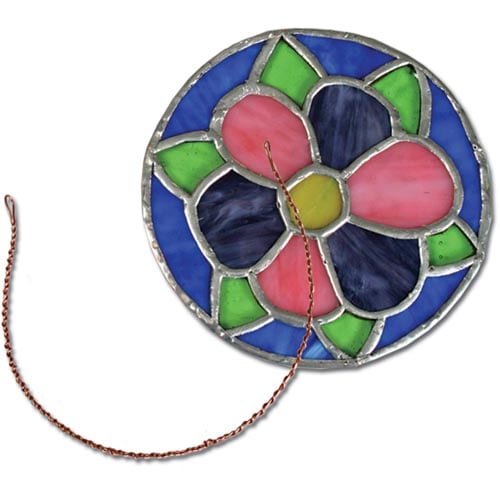 Step 10To make the looped hanger, twist wire together from each end until it meets in the center. Solder the hanger to the bottom of the stained glass.
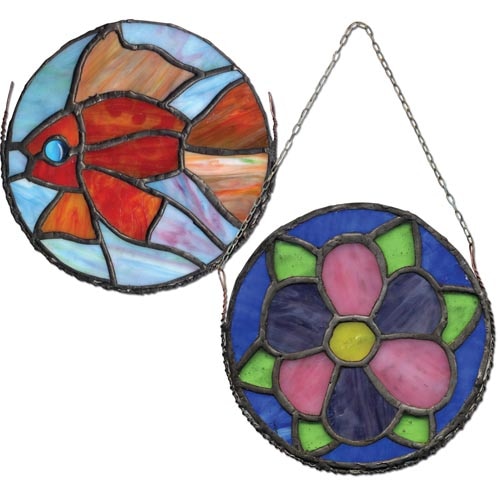 Step 11Attach a chain to the looped hanger for display.