Totem Pole Sculpture Project
Time: 2-3 Class Periods
Difficulty: Advanced
Cleanup: Soap & Water
Materials:
Difficulty: Advanced
Cleanup: Soap & Water
Materials:
Corrugated Cardboard Sheets
Acrylic Paints in assorted colors
Paint Brushes
Scrap Paper
Scissors
Craft Knife
Glue Gun
Pencil
Marker
Metal Ruler

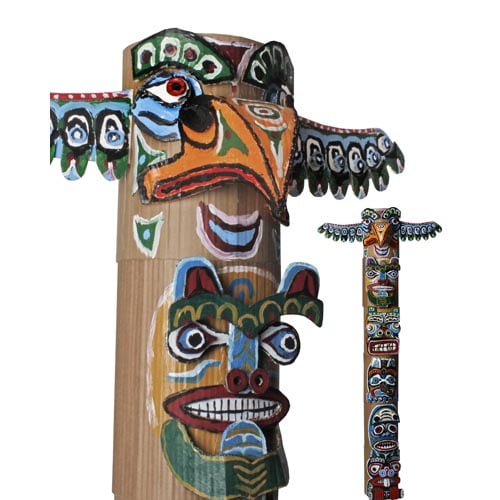
Create a class totem pole with corrugated cardboard and acrylic paints. This project also has an instructional video available!
Steps
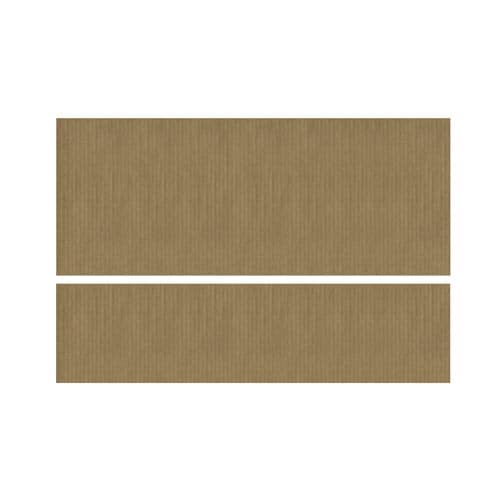 Step 1Using scissors or a craft knife, cut a 12x30" sheet from a piece of 20x30" corrugated board. (The remaining 8x30" strip will be used later.)
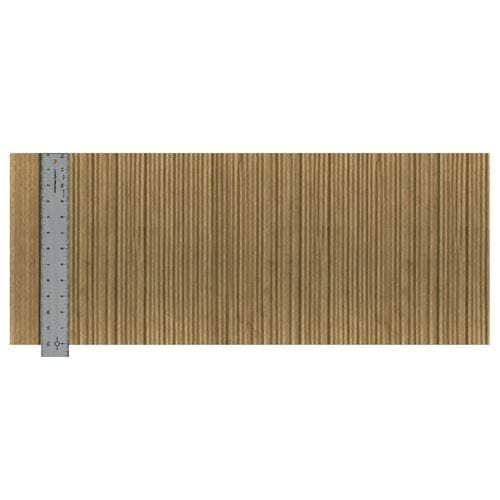 Step 2To make it easier to curve into a tube, use a metal ruler and crimp along the ribs of the 12x30" sheet, bending the sheet as you go. This will also give it more of a wood texture. On one end, draw a line 2" from the edge.
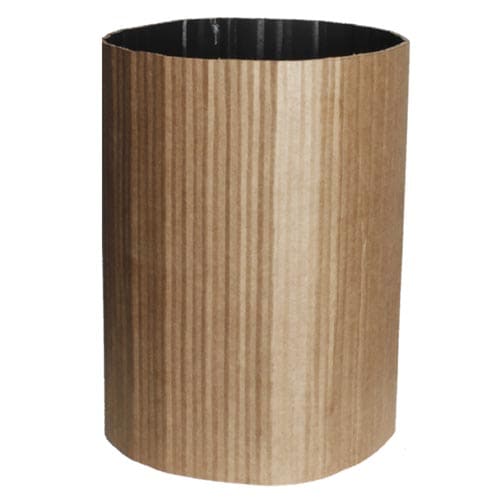 Step 3Using a glue gun, attach the two ends together exactly at the line. Make sure all the sections of the totem pole are the same diameter so they can be easily stacked and attached to each other.
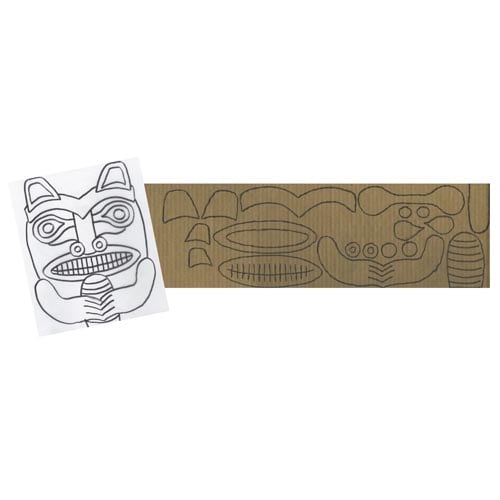 Step 4It is easy to find images of totem poles online or at the library. Design an animal for your section of the totem pole - our example is a wolf. Draw your animal face about 12" tall and 8" wide so that it fits on the totem pole trunk. Using a marker, transfer your drawing to the 8x30" sheet of corrugated board as separate components so they can be added in layers. For example, the wolf’s paws will be on top of the tail. For some animals, like our Thunderbird, another sheet of corrugated board may be necessary.
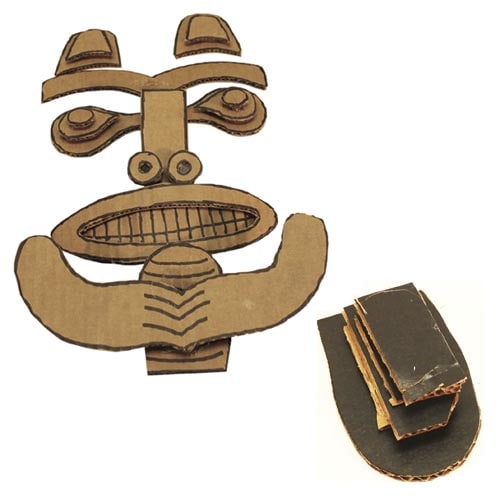 Step 5Cut out the pieces with scissors and glue them together with a glue gun. Stack extra pieces of cardboard to raise the layers and add dimension where desired.
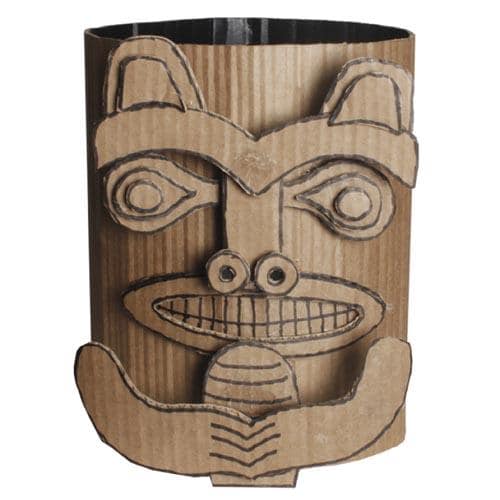 Step 6Glue the animal pieces to the pole with a glue gun.
 Step 7Paint your animal with acrylics and let dry.
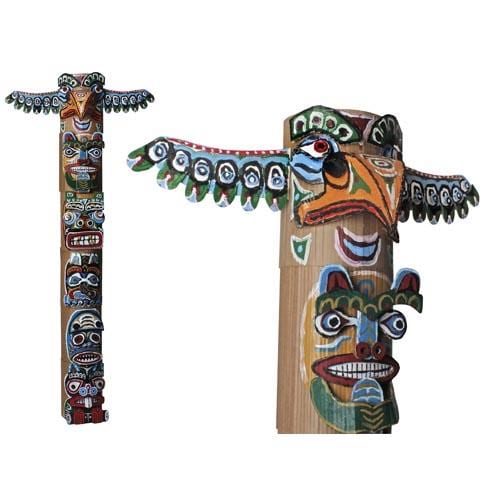 Step 8Once all the sections are finished, attach them together from the inside with duct tape.