Twisted Reed Dreamcatcher Project

Time: 1-2 Class Periods
Difficulty: Moderate
Cleanup: None
Materials:
Difficulty: Moderate
Cleanup: None
Materials:
#5 Round Reed (9/64" wide)
Craft Thread or Artificial Sinew
Scissors
Wooden Beads
Feathers
Glue
Acrylic Paints (optional)
Paintbrushes (if using Acrylics)
Needle (optional)

Craft a beautiful Dream Catcher using round reed and thread. This project also has an instructional video available!
Steps
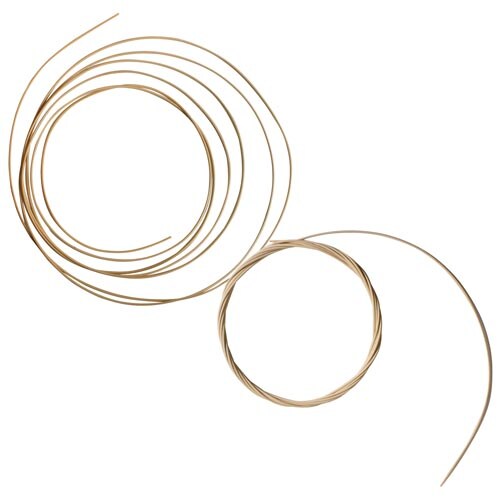 Step 1Take a strand of #5 (9/64" wide) round reed, which is about 10 feet long. Start in the center and make a loop. Twist the reed onto itself, weaving it in and out, to form a 7" circle. Once the reed is completely twisted tuck the end into itself to secure the loop. At this point you can paint the reed a different color with acrylic if desired; the reed in our example pictures has been left natural.
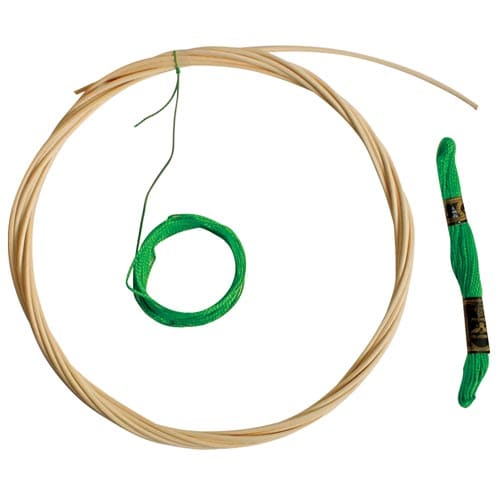 Step 2Cut a 5-yard length of craft thread, or artificial sinew, and then secure the ends of the reed by tying a loop around it with the thread/sinew. This is the first step to weaving the dreamcatcher.
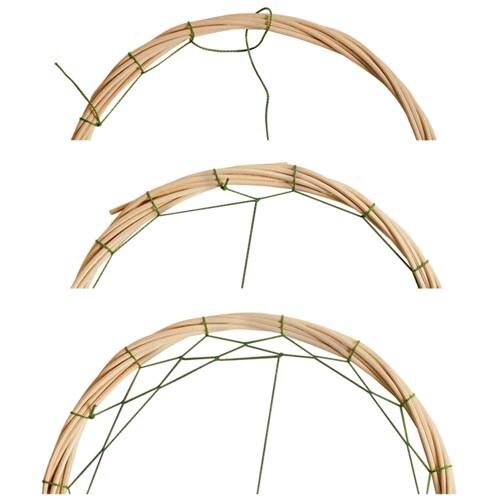 Step 3Take the thread/sinew over the reed and through the loop to make the first stitch. Do this several times to go around the reed once. Continue the second row of loops by taking the thread/sinew over and through the thread/sinew on the existing first row of stitching (as shown in the middle image of Step 3). By doing this you are creating a web pattern. Keep rotating around the circle, building onto the web using the same over and through stitch until the thread/sinew runs out; you can tie on an additional length of thread/sinew if necessary. You can also add beads if desired; see optional tips for directions on how to create a star pattern in the center.
For a detailed, visual demonstration, watch our video on YouTube.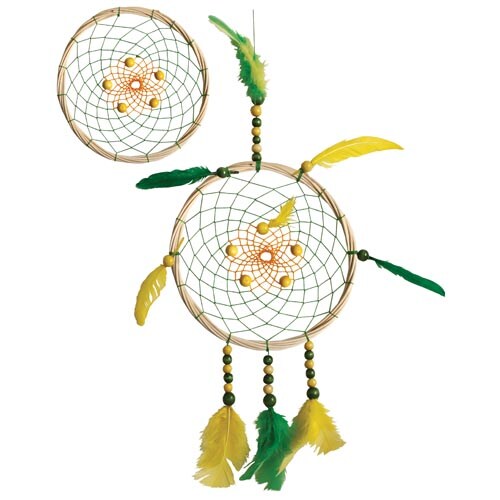 Step 4Once you have finished the dreamcatcher, tie on additional beads or leather pieces to decorate. Place a dab of glue on the quill of a feather and slide it into a bead to secure. Be creative and decorate it in your own style. Tie on thread for hanging
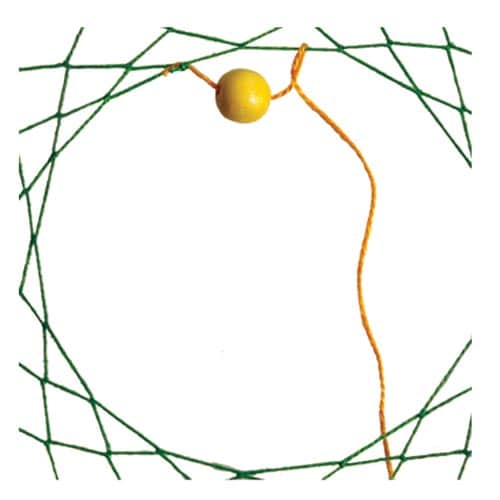 Step 5 (Optional)Steps 5-7 are optional and explain how to create a star pattern in the middle.
Choose a second color of thread and cut a 2-yard length. At the location where the first thread ends, knot the 2nd color, at this point you will add a bead to the string and continue on with the over and through stitch adding a bead every third stitch (or equally spaced in the design at this point).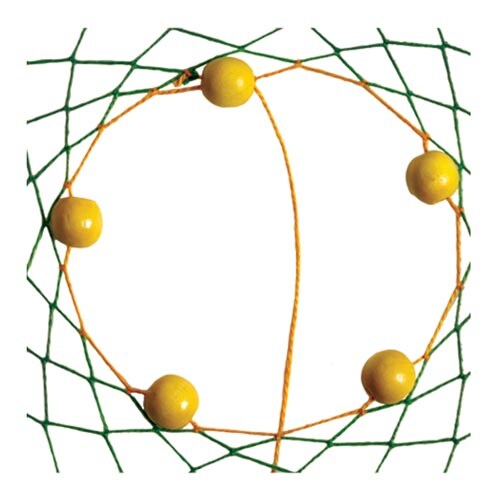 Step 6 (Optional)Keep building the web using the over and through stitch until the thread runs out or until the web reaches the center.
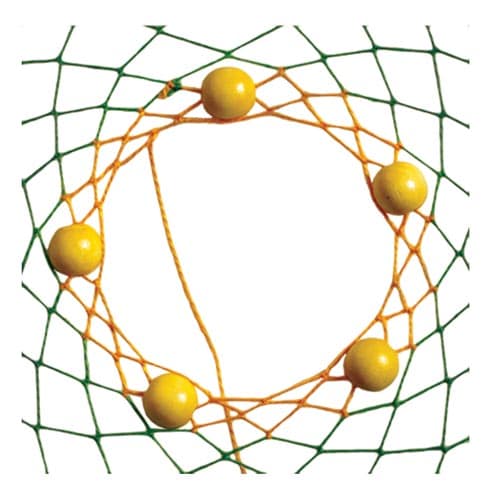 Step 7 (Optional)When the stitching is close to the center it will be easier to do if a needle is used, but it isn’t mandatory to complete the stitching. Knot the thread to finish the stitching.