African Masks Project
Time: 3-4 Class Periods
Difficulty: Advanced
Cleanup: Soap & Water
Materials:
Difficulty: Advanced
Cleanup: Soap & Water
Materials:
Project Kit (see Products Used below steps)
Craft Knife
Paint Brushes
Wire & Wire Cutters
Glue
Acrylic Paints
Beads (optional)
Materials needed if not using Project Kit:
AMACO Claycrete
Paperboard Mask
Needle or Pro Tool
Modeling Tools
Raffia
Craft Knife
Paint Brushes
Wire & Wire Cutters
Glue
Acrylic Paints
Beads (optional)

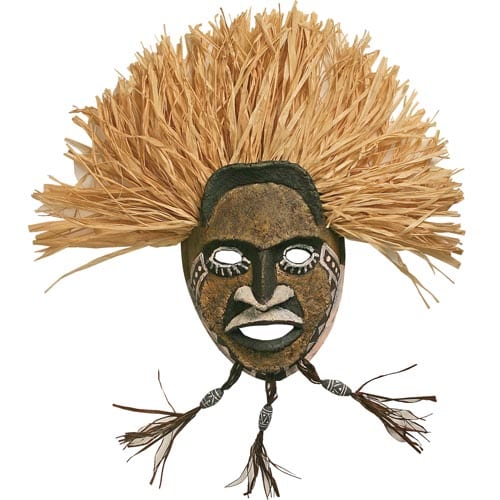
Make an authentic-looking African mask using papier mâché and raffia! This project also has an instructional video available!
Click here to print a PDF of this projectSteps
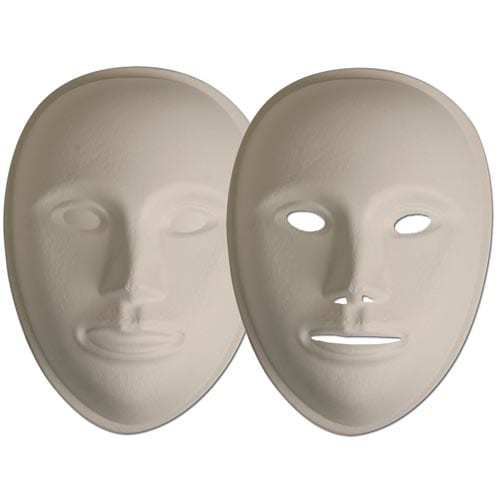 Step 1With craft knife, cut eye, mouth and nostril holes from the mask.
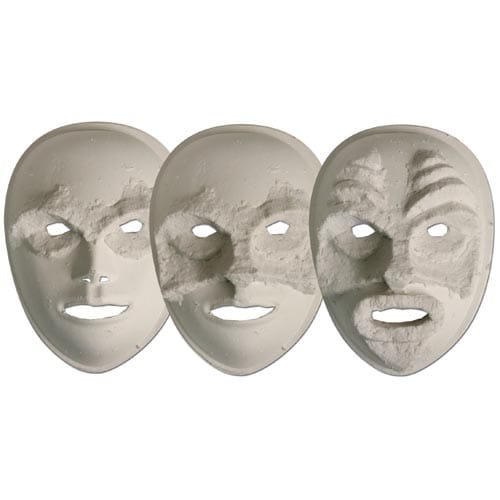 Step 2Mix a small batch of Claycrete according to the directions on the package. Use modeling tools to build up and sculpt Claycrete details onto mask. Allow it to dry thoroughly.
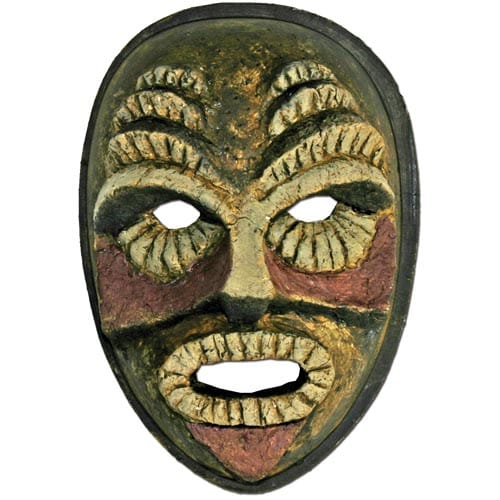 Step 3Paint mask with acrylic paints.
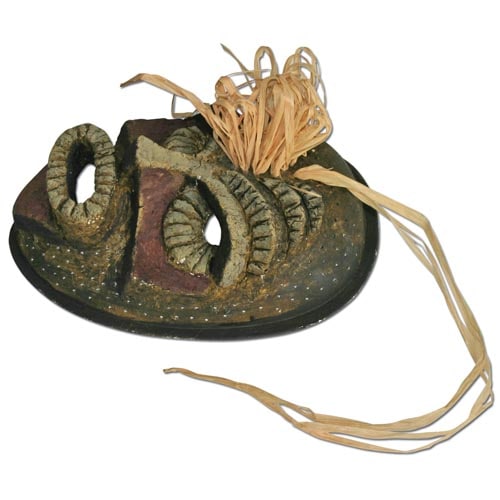 Step 4To add raffia headdress, hair or beard, etc., punch holes in desired areas with an awl or ceramic needle tool. Select a strand of raffia, coat the end with a small amount of glue and twist to make threading the raffia easier (allow glue to dry). Next, sew the raffia in and out of the punched holes. Continue until all holes are used.
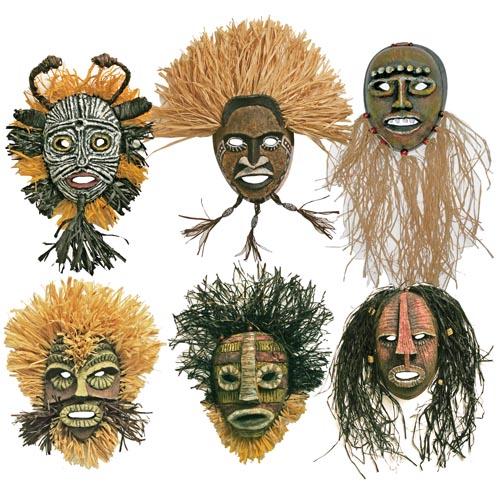 Step 5Trim raffia to desired lengths. Separate, fluff or shred raffia to create different, unique textures. Add beads to raffia, if desired.
- Optional Tip 1To create ears or horns, add wire, form it and then wrap with raffia.