Fun With Cyanotype Printmaking Project

Time: 2-3 Class Periods
Difficulty: Moderate
Cleanup: Soap & Water
Materials:
Difficulty: Moderate
Cleanup: Soap & Water
Materials:
Jacquard Cyanotype Sensitizer Set
Transparency Film
Digital Camera
Photo Editing Software
Printer
Bristol, Watercolor Paper or Fabric
Tray
Measuring Cups
Brush
Cardboard
Tape

Steps
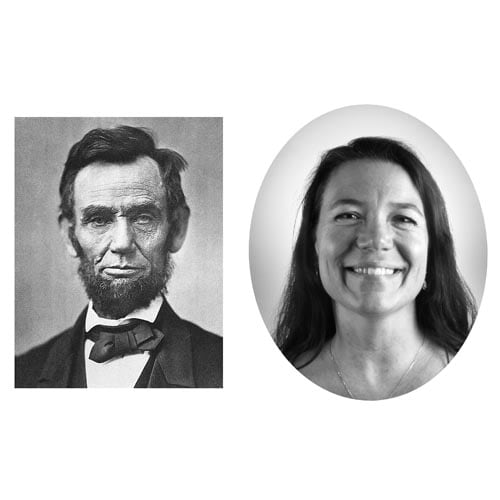 Step 1Take a black and white photo. Open the photo in your favorite photo editing software.
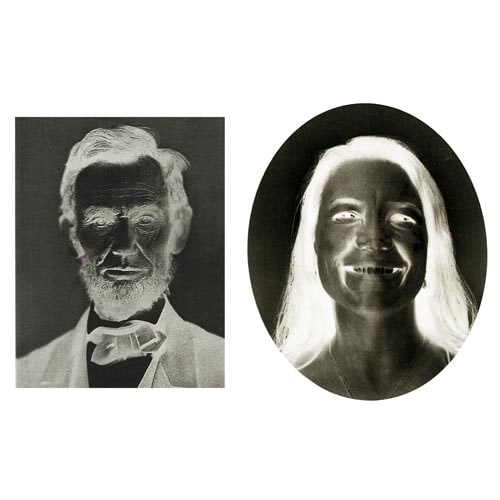 Step 2Invert the photo.
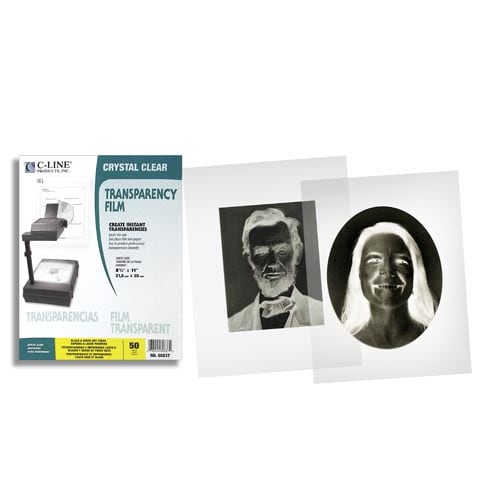 Step 3Print the inverted photos on transparency film.
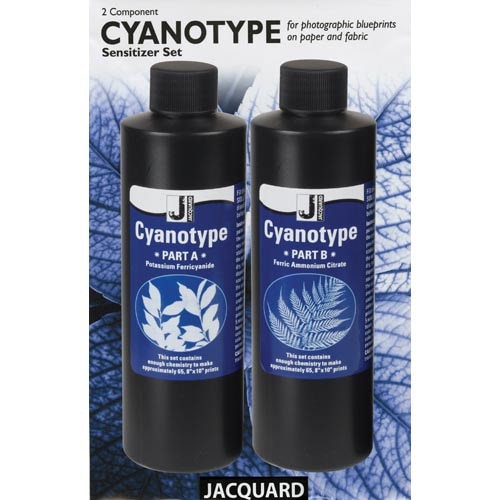 Step 4In low light, mix equal parts Jacquard Cyanotype Part A and Part B, according to package instructions. Paint the solution on your choice of fabric or paper. Allow to air dry in the dark; keep it covered until ready to expose.
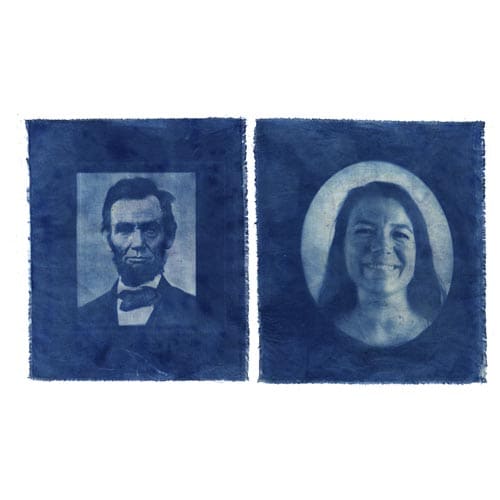 Step 5Tape the dry sheets of paper or fabric to a board, and tape the transparencies on top of the sheets. Take outside and expose to direct sunlight for 1 to 30 minutes. A longer exposure will produce a darker print. After exposure, remove the transparencies and rinse the prints in a shallow tray of cool water for 5 minutes. Hang or lay flat to dry. The prints will continue to oxidize during the next 24 hours to their final, deep blue color.
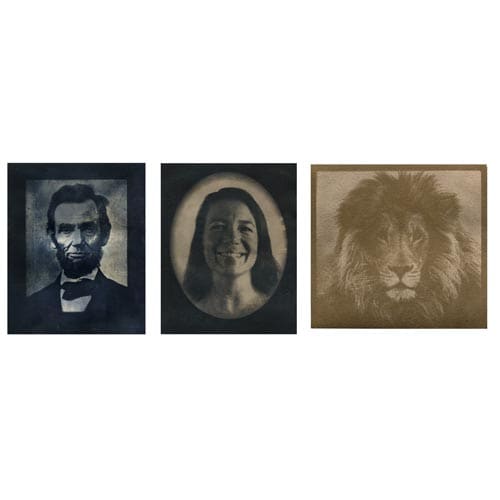 Step 6Watch our YouTube Video for tips on creating a transparency with a Sharpie, bleaching a cyanotype print, and toning a print with other mediums, such as coffee and tea!