Thanksgiving Turkey Sculpture Project
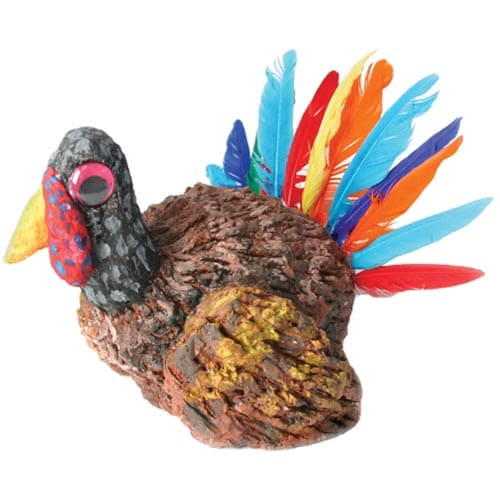
Time: 2 Class Periods
Difficulty: Easy
Cleanup: Soap & Water
Materials:
Difficulty: Easy
Cleanup: Soap & Water
Materials:
AMACO Claycrete Papier Mache
Duck Quills
Neon Wiggle Eyes
Pan or Bowl
Old scratch stick or pencil
Paint Brush
Tempera Paint

Start with papier mache and create a turkey! This project also has an instructional video available!
Claycrete is non-toxic, comes in powder form and mixes with water to form a paste. When in paste form, it is modeled or applied over an armature. Claycrete starts setting up in 30 minutes, then detailed modeling can be done. Additions will stick to the form without any problem, because it will cling to any clean surface, but will not stick to the hands. It’s easy to prepare, easy to model and very economical. Finished projects dry bright white, very lightweight and durable.
Steps
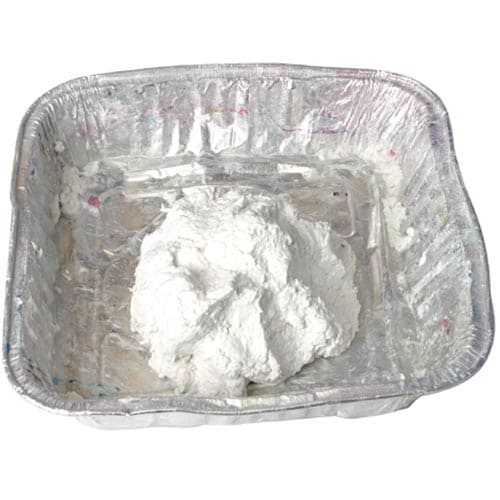 Step 1Mix 2 cups of Claycrete Papier Mache according to the directions on the package, adding a little water at a time until it reaches the desired consistency. Shape the body like a pinch pot, leaving the inside hollow. For a visual demonstration, watch our video on YouTube.
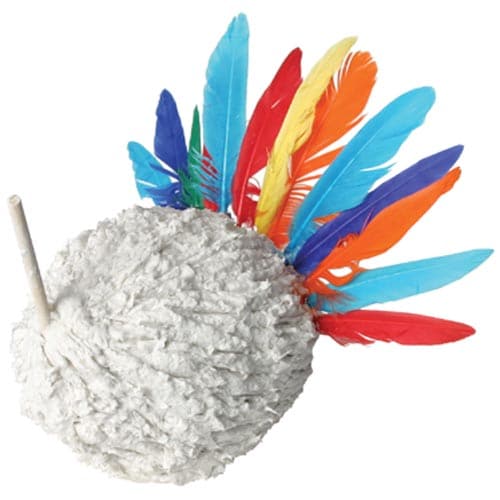 Step 2Insert an old scratch stick, or an old pencil, sharpened down to about 3-1/2", into the body as an armature to hold the turkey's neck and head. Press small duck quill feathers into the opposite side of the body for the tail.
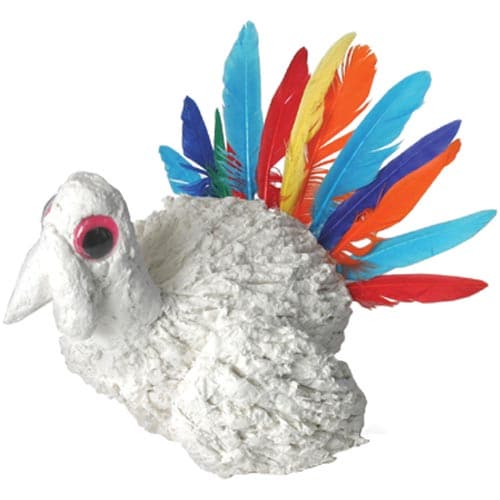 Step 3Mix another cup of Claycrete. Sculpt wings, head and beak with the additional Claycrete. Add neon movable eyes. Let turkey dry overnight.
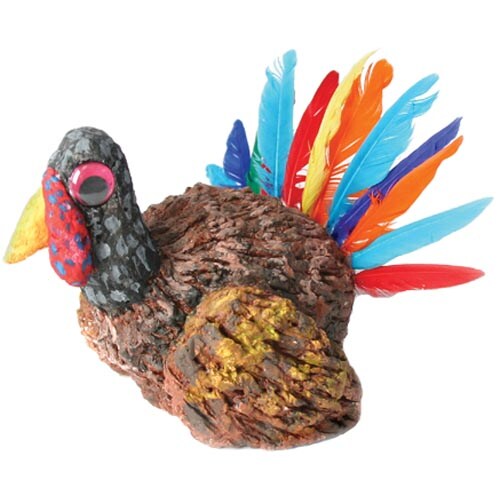 Step 4Paint turkey with your favorite tempera paint. Let dry.