Batik T-Shirts Project
Time: 2-3 Class Periods
Difficulty: Advanced
Cleanup: Soap & Water
Materials:
Difficulty: Advanced
Cleanup: Soap & Water
Materials:
T-Shirt
Wax
Wax Melter
Squeeze Pen
Fabric Dye
Craft Gloves
Newsprint Pad
20x30" Foam Board
Strong Tape
Household Iron
Washing Machine/Dryer

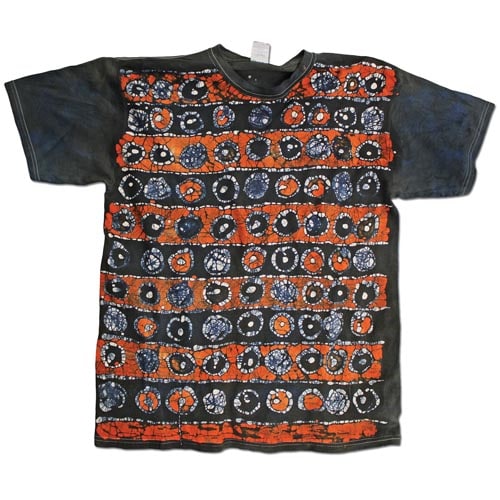
Make a batik t-shirt by using wax and dyes to create a unique piece of wearable art! This project also has an instructional video available!
Steps
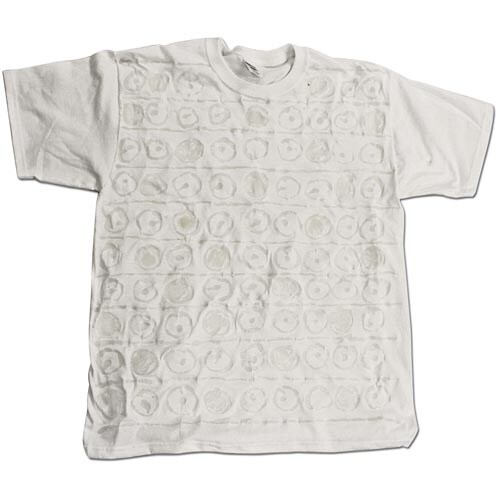 Step 1Stretch the T-shirt over the 20x30" piece of foam board and tape the back. Melt pieces of beeswax blend in The Waxmelter Palette (you must make sure the wax is fully melted and hot enough so the wax soaks into the fabric). Take the dropper and fill it with the wax blend (work quickly so it doesn’t cool). Apply the wax blend thinly onto the T-shirt in desired pattern to create the white areas of the design.
- Step 2Once cooled, crinkle and crack the wax. Mix a lighter shade of dye according to package. Dye shirt for approximately one hour and rinse thoroughly. (You may want to wear gloves.)
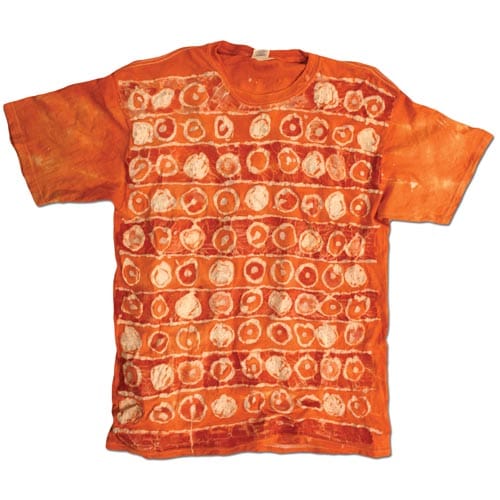 Step 3Next, following the directions from Step 1, add more wax to the shirt. You will want to keep in mind that the places you apply additional wax is where the light color will show in the end.
- Step 4Once cooled, follow the instructions from Step 2 and dye the T-shirt with a darker color for an hour and rinse.
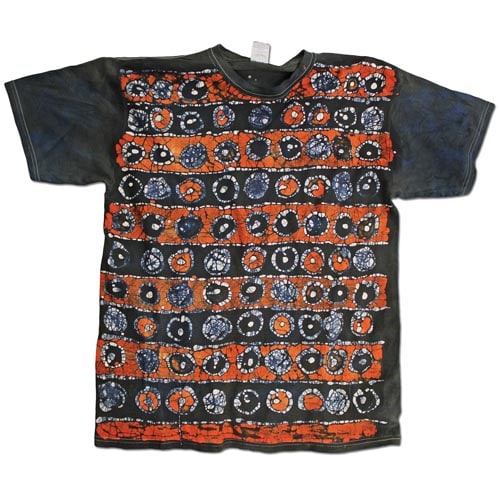 Step 5Once the shirt is dry, turn it inside out. Rip off the cover of a newsprint pad. Insert the pad into the shirt with the wax facing the paper. Preheat the iron and then iron the wax so that it soaks into the paper. Rip off the soaked pages and repeat until most of the wax is removed. To finish, wash and dry the shirt.