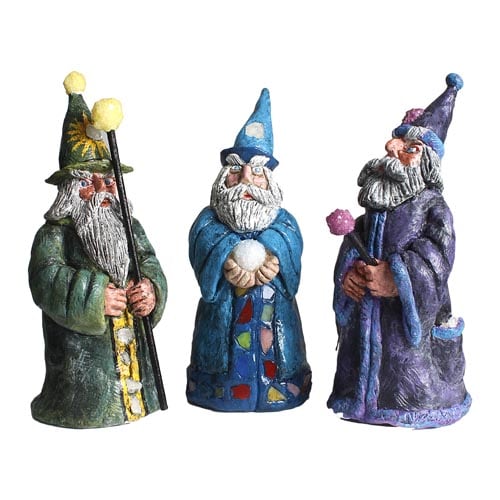
Clay Wizard Project
Time: 3-4 Class Periods
Difficulty: Moderate to Advanced
Cleanup: Soap & Water
Materials:
Difficulty: Moderate to Advanced
Cleanup: Soap & Water
Materials:
Air-Dry Clay
Newsprint
Masking Tape
Modeling Tools
Acrylic Paints
Paintbrushes
Powdered Alum
Empty Jar
Hot Water (to grow crystals)
Cord or String
White Glue
Dye (optional)

Steps
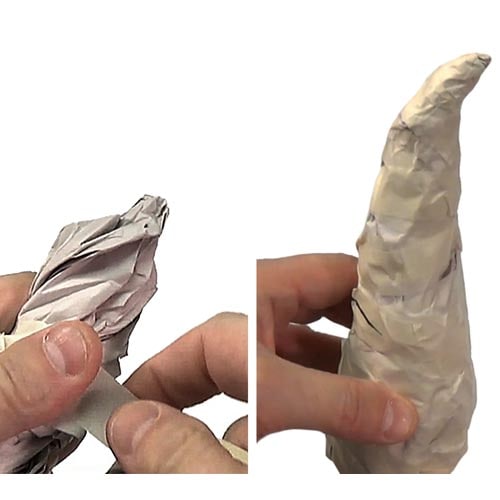 Step 1Crinkle some newsprint into the shape of a cone and secure with masking tape.
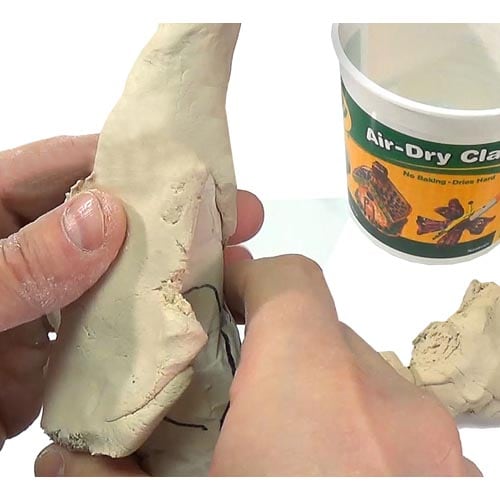 Step 2Cover the outside of the cone with a layer of air-dry clay, about 1/4" thick. Leave the base uncovered to allow for more even drying.
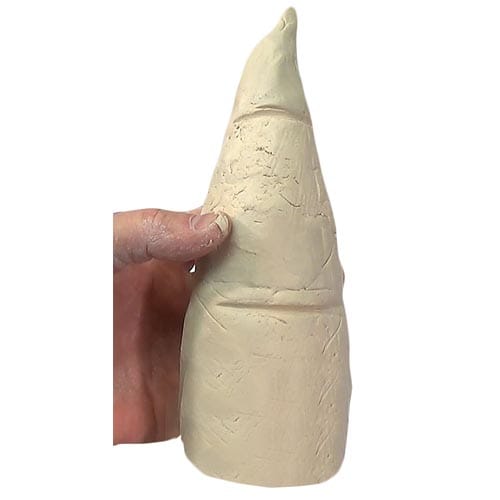 Step 3Divide the cone into 3 parts: the top will be the hat, the middle will be the face and beard, and the bottom will be the arms and rest of the body.
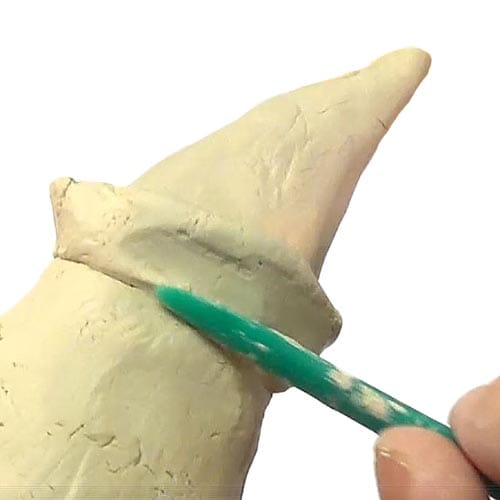 Step 4Using modeling tools and more clay, create a rim for the hat.
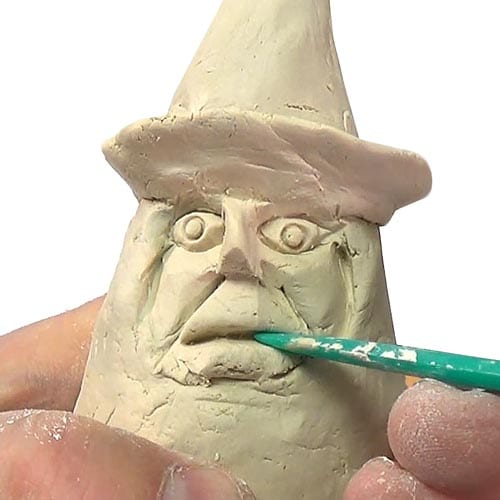 Step 5Sculpt details on the face, using more clay as necessary: eyes, nose, mouth, cheeks, etc.
Tip: If you won't be able to finish the sculpture in one session, wrap it in wet paper towels and seal in an airtight bag to keep the clay moist.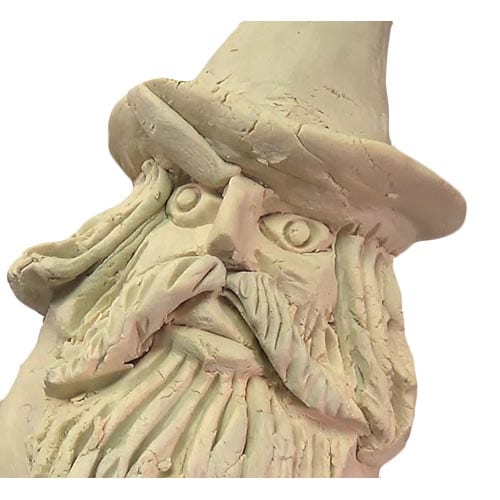 Step 6Add a beard and sculpt hair; add eyebrows and a mustache, too.
Tip: Watch our YouTube video for more details on adding facial features.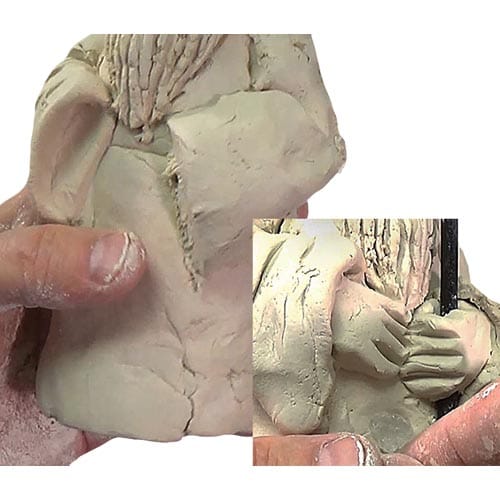 Step 7Create a cone from clay and bend it to make an arm. Attach to the body, with the widest part at the bottom, and repeat for the second arm. Sculpt hands and add them to the arms.
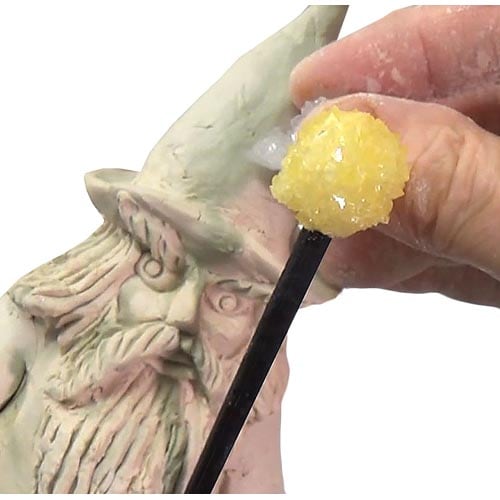 Step 8Create your own crystals! Pour hot, almost boiling water into an empty jar. Add 2 tablespoons of alum and stir until dissolved. The crystals will grow on the bottom of the jar in a day or more. Use these "seed crystals" to grow larger crystals, if desired. See our video on YouTube for more in-depth crystal growing instructions, plus variations for shapes and colors!
Once the crystals are finished, use them as accessories for your wizard: a wand, staff, crystal ball and more. You can also press crystals into the clay for accents to the robe.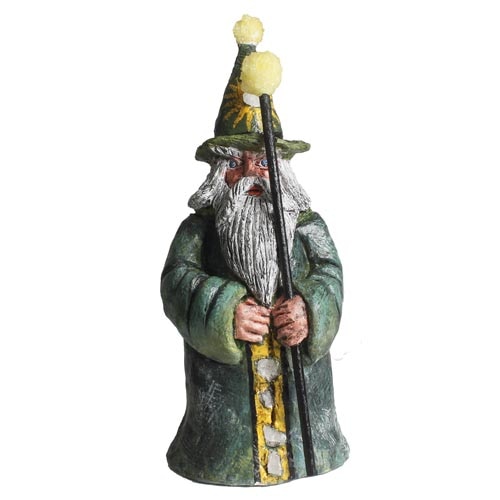 Step 9Let the sculpture dry completely, for 3 or 4 days. Then paint with acrylics.