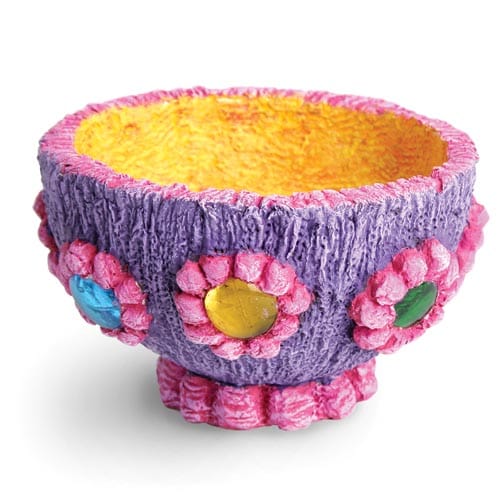
Claycrete & Glass Gem Bowl Project
Time: 2-3 Class Periods
Difficulty: Moderate
Cleanup: Soap & Water
Materials:
Difficulty: Moderate
Cleanup: Soap & Water
Materials:
AMACO Claycrete Papier Mache
Glass Gem Stones
Styrofoam Balls
Modeling Tools
Acrylic or Tempera Paint
Paint Brush
Use Claycrete, gems and paint to create your own bowl.
Claycrete is non-toxic, comes in powder form and mixes with water to form a paste. When in paste form, it is modeled or applied over an armature. Claycrete starts setting up in 30 minutes, then detailed modeling can be done. Additions will stick to the form without any problem, because it will cling to any clean surface, but will not stick to the hands. It’s easy to prepare, easy to model and very economical. Finished projects dry bright white, very lightweight and durable.
Steps
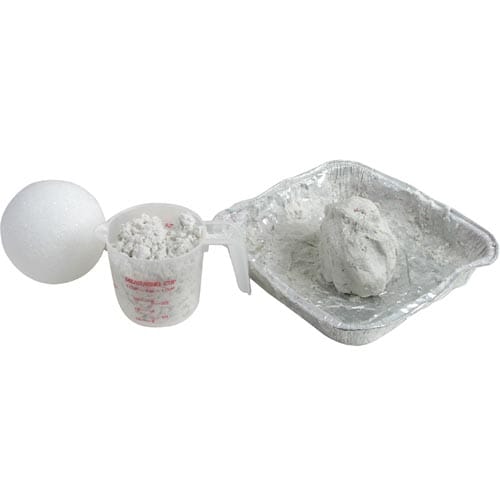 Step 1Mix Claycrete according to the directions on the package. (1 lb. should make enough for one student.)
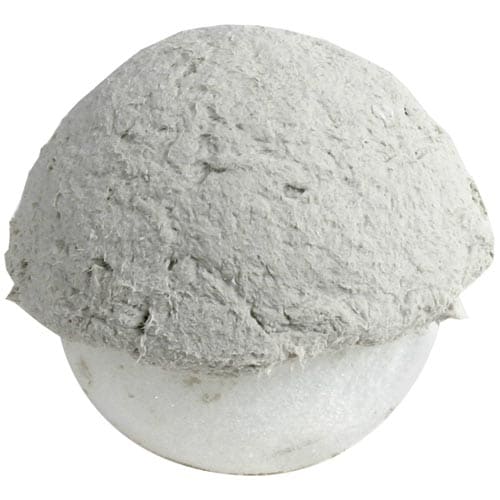 Step 2Use half of the Claycrete to shape a bowl on a 4" styrofoam ball or any bowl. Walls should be about 3/8" thick.
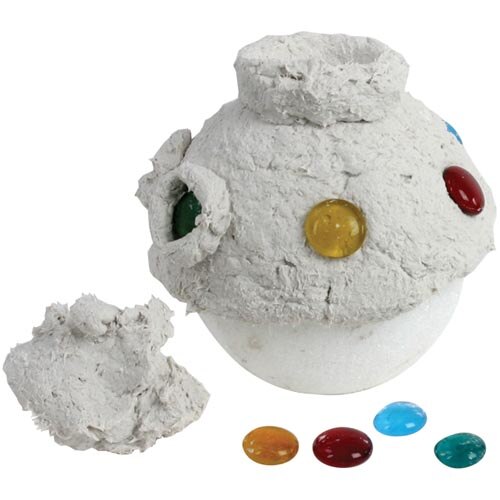 Step 3Attach 7-8 glass gems around the side of the bowl. With the other half of the Claycrete, form a base and add embellishments.
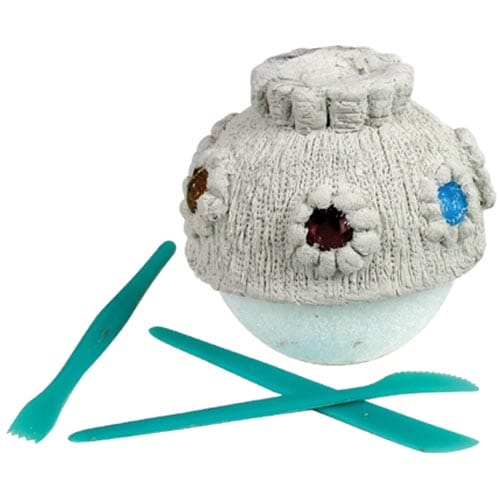 Step 4Sculpt additional details with clay modeling tools. Allow Claycrete to thoroughly set and dry overnight, then remove styrofoam ball or bowl.
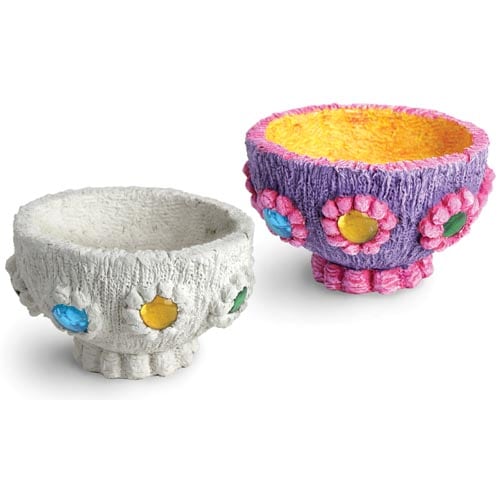 Step 5Paint with acrylic or tempera paint. Let dry.