Illuminated Letters Project

Time: 2-3 Class Periods
Difficulty: Moderate
Cleanup: Soap & Water
Materials:
Difficulty: Moderate
Cleanup: Soap & Water
Materials:
9x12" Mixed Media Paper
Ultra Fine Black Sharpie
Metallic Gold Paint
Colored Pencils
Ruler
Pencil
Eraser
Detail Brush
Bowl

Steps
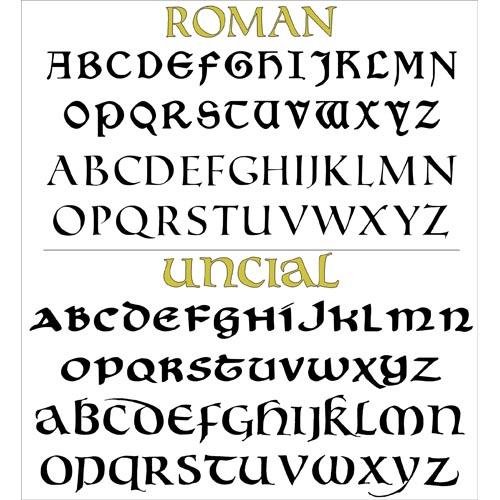 Step 1Study fonts used for illuminated letter designs. Common fonts are Roman and Uncial.
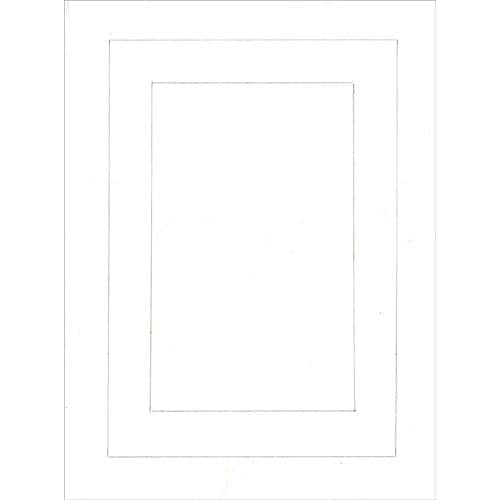 Step 2With a pencil, draw a line that is 1" from the edge of the paper. Draw a second line that is 2" from the edge, creating a 1" wide frame.
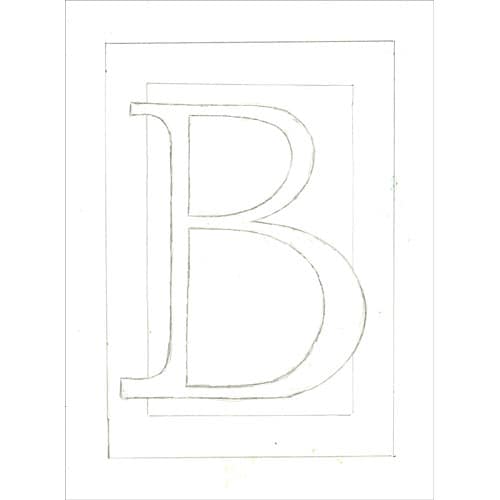 Step 3Select and draw a letter; it can overlap the frame a little bit if you want. Tip: Letter stencils can be made by printing large fonts from a computer.
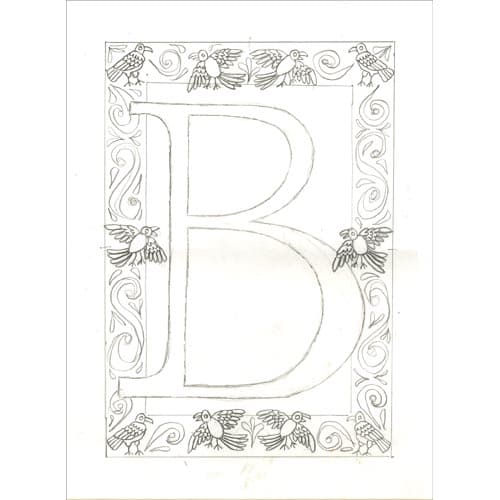 Step 4Decide what theme you want to use and design the border. Images can flow from outside and inside the border.
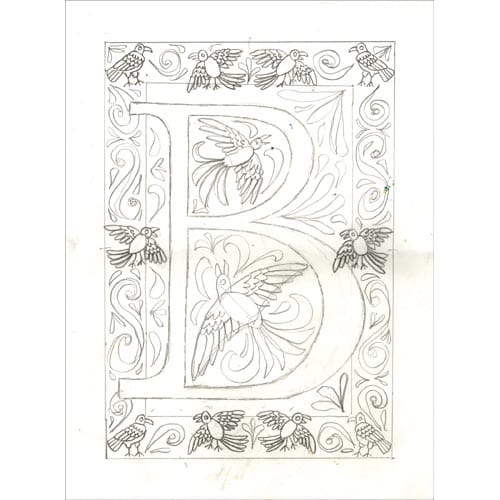 Step 5Continue designing inside the box and the background.
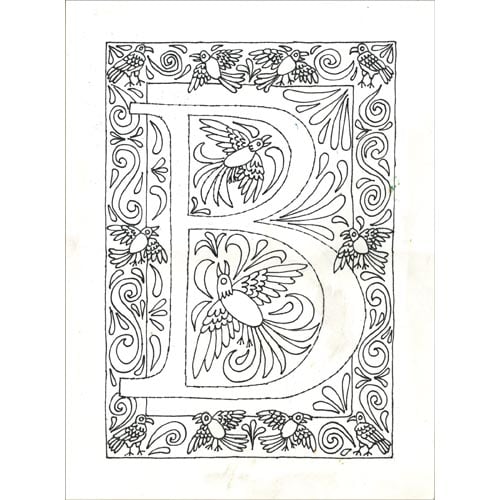 Step 6Trace over designs with an ultra-fine black Sharpie. Erase pencil lines.
 Step 7Add "illumination" by painting areas and design elements with gold paint.
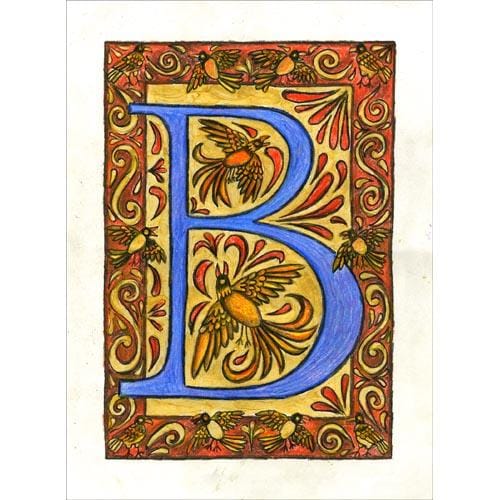 Step 8Color remaining areas with colored pencils.
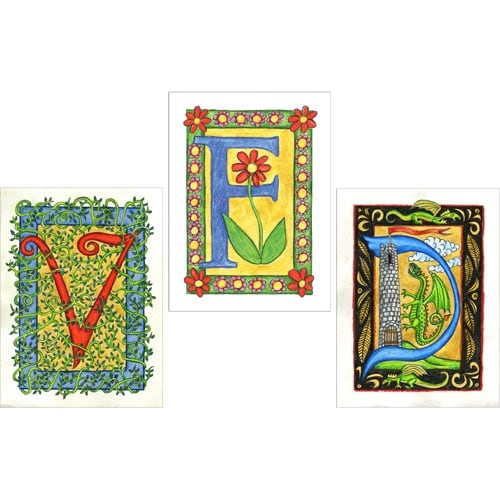 OptionalExperiment with other letters and creative elements; use a design element to create the letter and tell a story.