Rock Trolls Project

Time: 2-3 Class Periods
Difficulty: Moderate
Cleanup: Soap & Water
Materials:
Difficulty: Moderate
Cleanup: Soap & Water
Materials:
Sculpey Oven-Bake Clay
Acrylic Paints
Smooth Rocks
Modeling Tools
Household Oven or Toaster Oven
Paint Brushes

Steps
 Step 1Choose a rock and determine which side will be the face. Work Super Sculpey Medium Oven-Bake Clay with your hands so that it is soft, and add a thin layer to the rock as a base for the face.
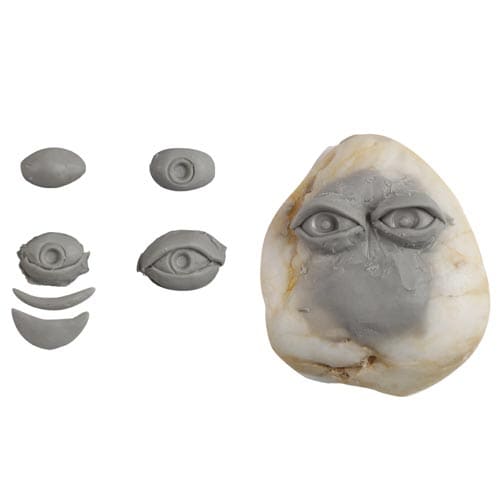 Step 2Use Sculpey to form eyes and eyelids, and attach them to the rock. The end of a Sharpie works great to make a pupil shape in the eye.
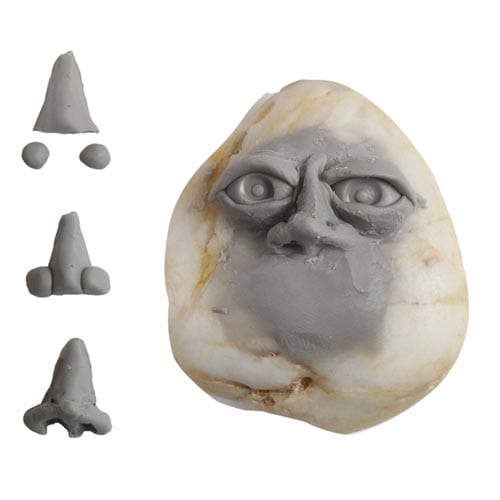 Step 3Create a nose and attach it to the face. Use a pencil or pen to hollow out the nostrils.
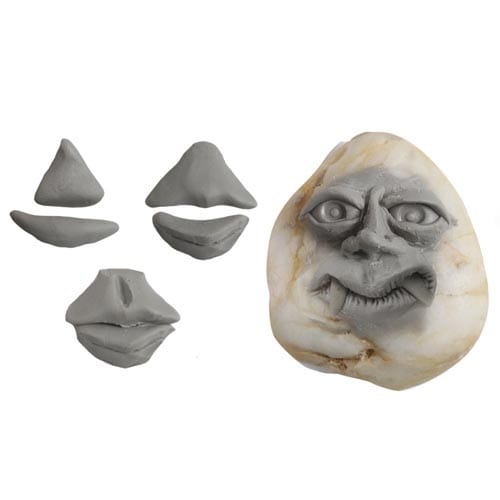 Step 4Use two small pieces of Sculpey to form the mouth and adhere it to the face. You can add details later, like the fangs in our example.
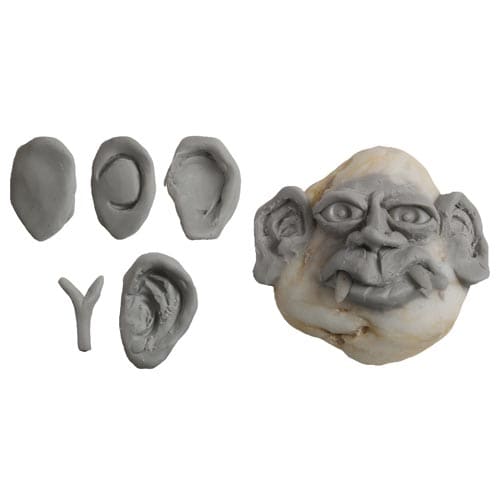 Step 5Create ears for the troll and attach them to the sides of the face.
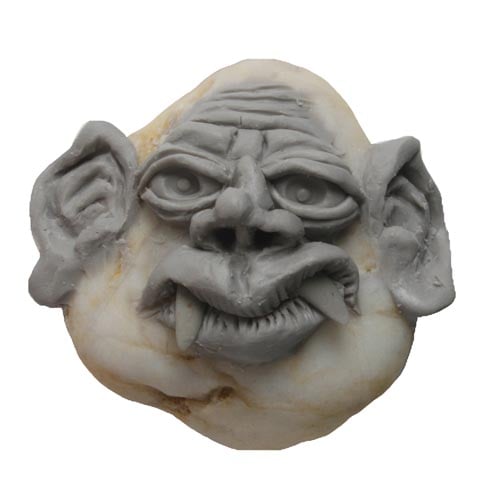 Step 6Sculpt details with modeling tools as desired. Our troll has wrinkles in his forehead, lip lines and a few fangs!
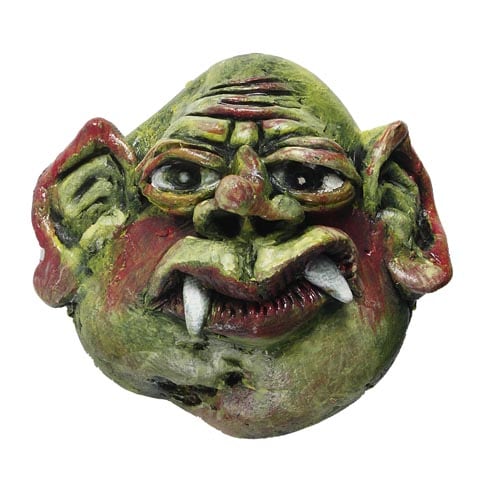 Step 7Bake your Troll in a household oven or a toaster oven according to package directions. When the troll is cool, paint with acrylic paints.
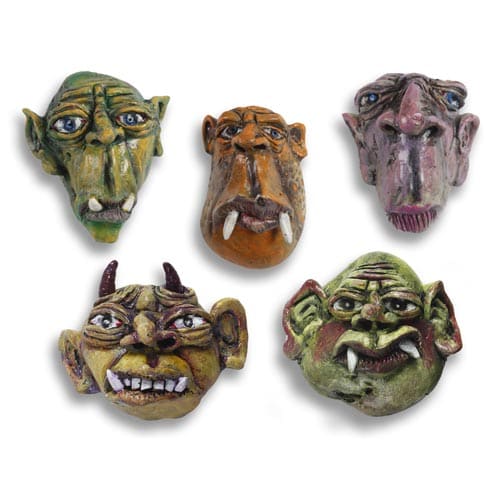 Step 8Have fun experimenting with shapes and colors as you make a village of Rock Trolls!