Tie-Dye Bound Book Project
Time: 2-3 Class Periods
Difficulty: Advanced
Cleanup: Soap & Water
Materials:
Difficulty: Advanced
Cleanup: Soap & Water
Materials:
Muslin
Scissors
9x12" White Sulphite Paper
Binder's Board
Binder's Needle
Binder's Thread
Bonefolder
Polyvinyl Adhesive (PVA)
Punching Awl
Tie-Dye Kit
Household Iron
Utility Knife
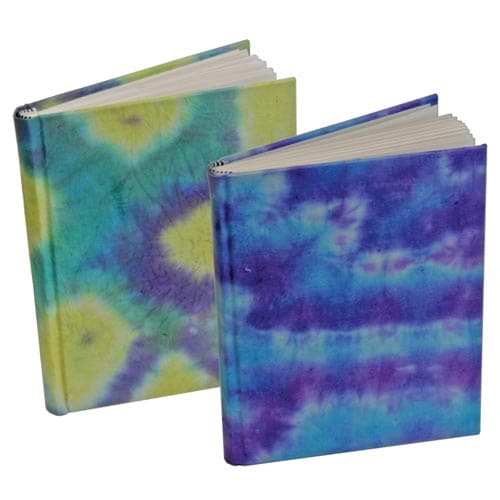
Bind your own book and make a tie-dye cover for it!
Steps
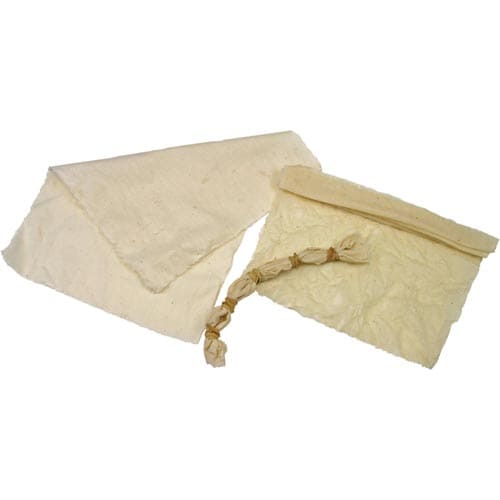 Step 1Cut muslin into 15 x 10-1/2" swatches. Wash the starch and sizing out of the cloth. Fold into desired tie-dye pattern and bind with rubber bands.
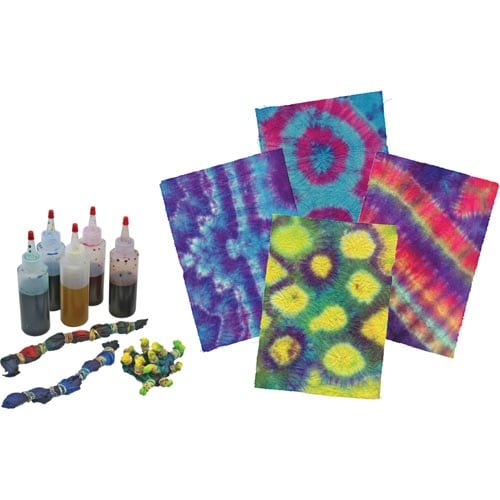 Step 2Mix dye with water in squeeze bottles according to the package directions. Tie-dye muslin with desired colors. Rinse and dry.
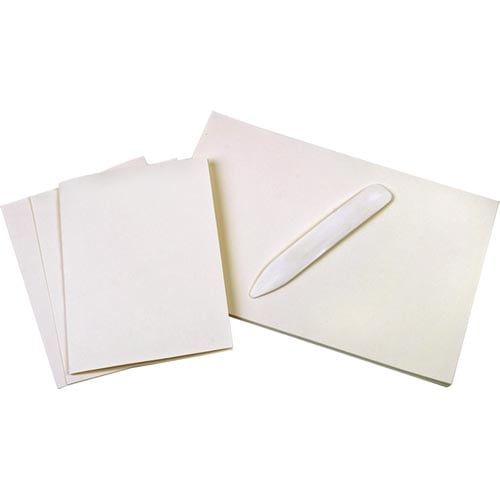 Step 3Create 24 folios by folding 24 sheets of 9x12" paper in half long way. Crease each with the bone folder.
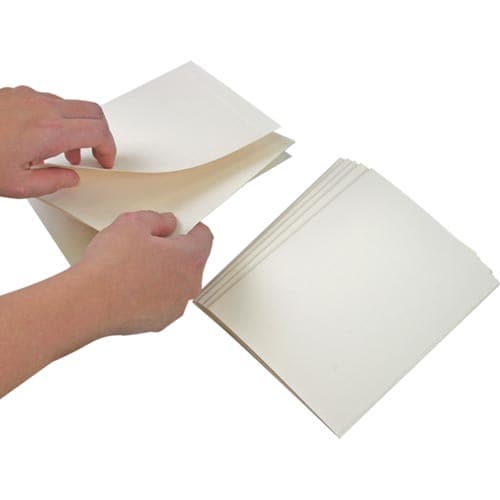 Step 4Stack four folios, one inside another, to make six separate signatures.
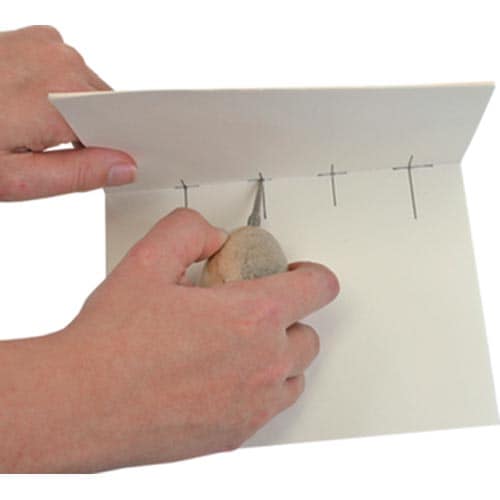 Step 5Using the awl, punch four holes through each signature. With paper, make a master template to line up holes evenly.
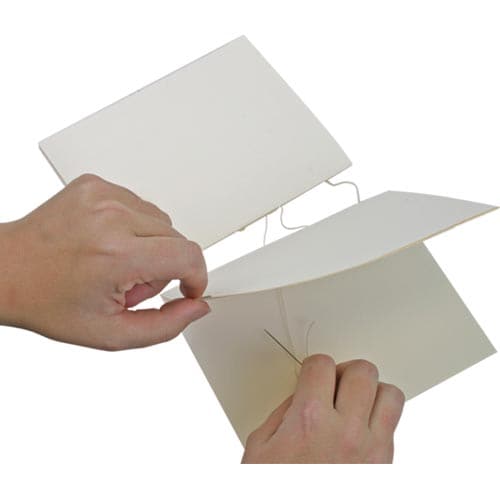 Step 6Sew the six signatures together using a single strand of binder's thread, approximately 1-1/2 ft. Sewing upward on the first signature then downward on the next, knot the two together at the end. Continue with two signatures at a time, knotting each to the next, until complete.
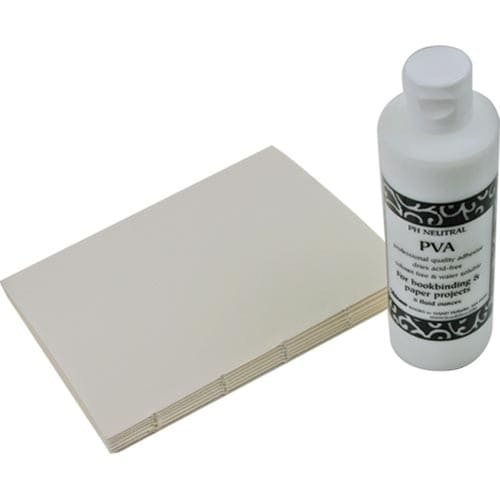 Step 7Trim thread to 4". Using PVA adhesive, apply a heavy layer of glue to the spine. Lay thread in glue.
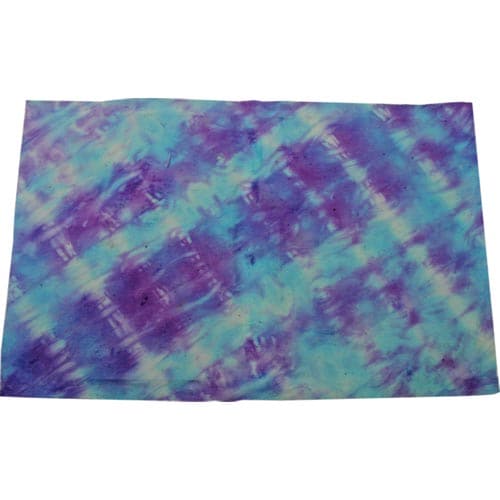 Step 8Iron your tie-dyed fabric.
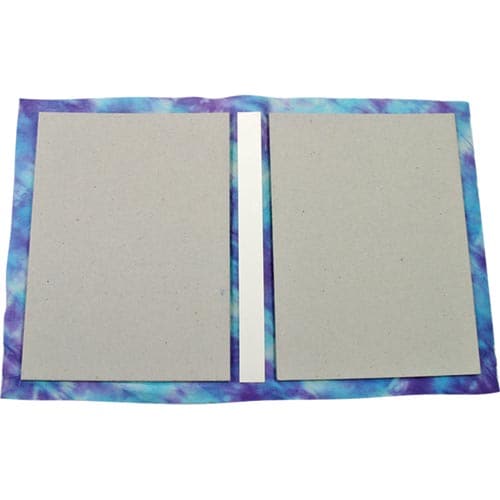 Step 9With a utility knife, cut two pieces of binder's board down to 6-1/2 x 9-1/2" each. Cut a 5/8 x 9-1/2" strip out of sulphite paper. Lay out and glue board and strip to the fabric. Wrap excess fabric around board and attach with glue.
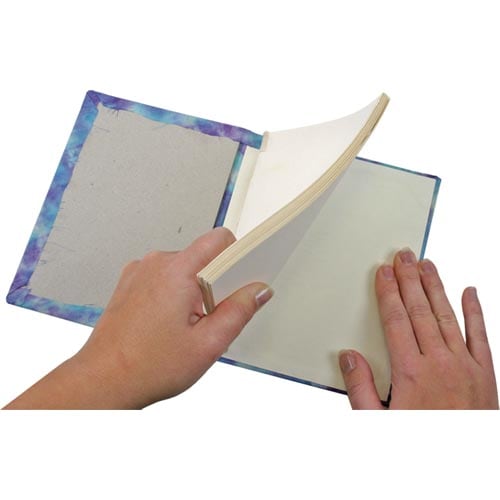 Step 10Attach book block by gluing the first and last pages to the inside cover. Finish by creasing outside of the spine with bone folder.