Tumbled Glass Pin Project
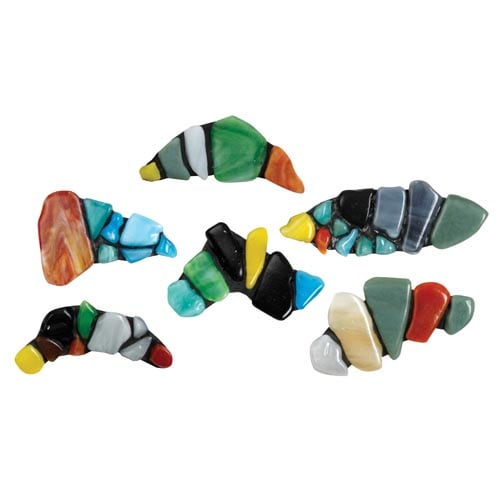
Time: 1-2 Class Periods
Difficulty: Easy
Cleanup: Soap & Water
Materials:
Difficulty: Easy
Cleanup: Soap & Water
Materials:
Project Kit (see Products Used below steps)
Pencil
Glue Gun
Craft Knife
Modeling Tool
Household Oven or Toaster Oven
Sealer (Optional)
Materials needed if not using Project Kit:
Chipboard
Tumbled Glass Pieces
Sculpey III Oven-Bake Clay
Bar Pin
Pencil
Glue Gun
Craft Knife
Modeling Tool
Household Oven or Toaster Oven
Sealer (Optional)

Make a cool pin with tumbled glass and Sculpey! This project also has an instructional video available!
Click here to print a PDF of this projectSteps
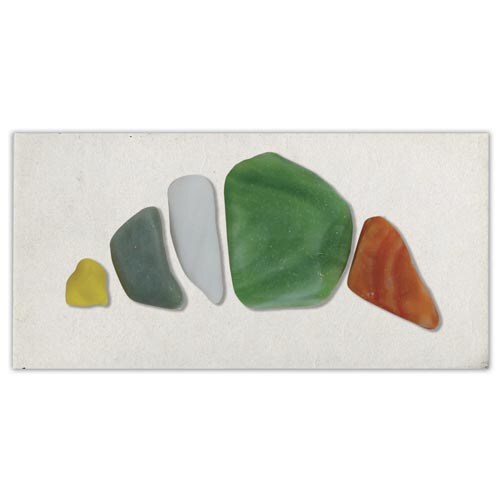 Step 1Cut a piece of chipboard in half or quarters, depending on the size you desire. Select several pieces of tumbled glass and arrange them on the chipboard.
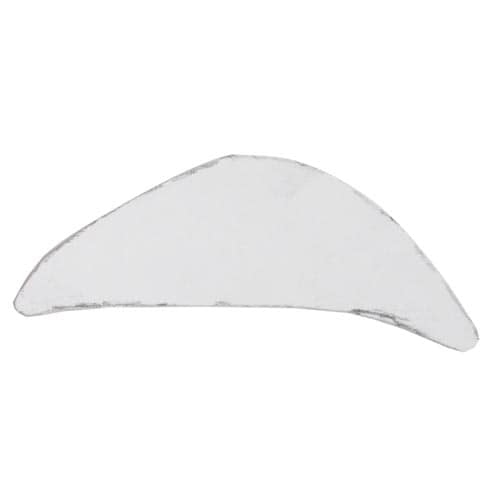 Step 2Trace around glass shape and cut out the chipboard with a craft knife.
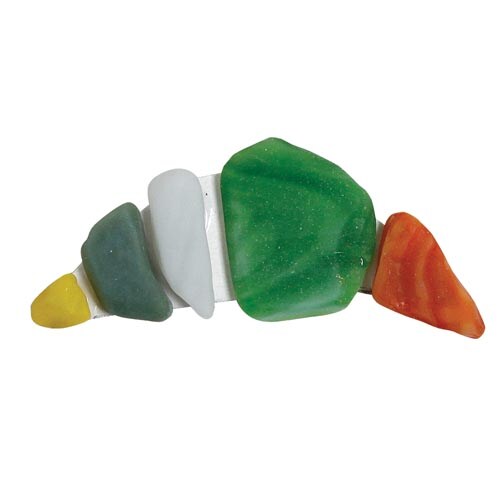 Step 3Trim the chipboard so that the glass pieces hang off the edge slightly. Use a glue gun to attach the glass pieces.
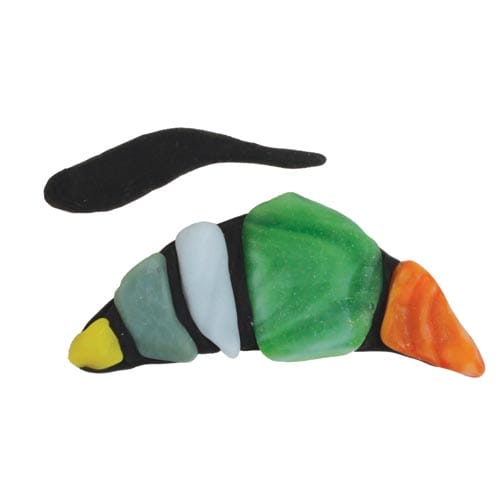 Step 4Instead of grout, press a small amount of black Sculpley III Oven Bake Clay between the gaps with a modeling tool. Bake the pin according to instructions on the Sculpey package.
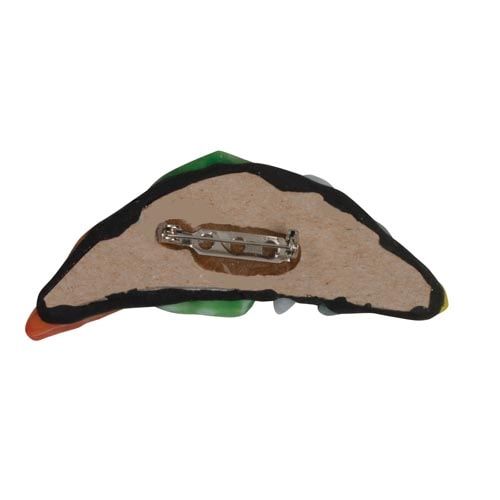 Step 5Attach a pin to the back of the chipboard with a glue gun.
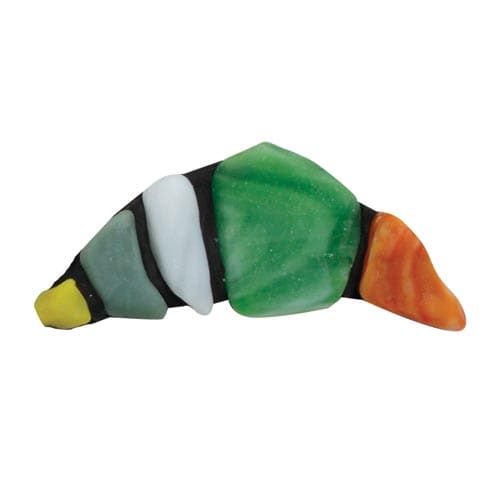 Optional Step 1Seal with Krylon Crystal Clear Acrylic Coating Spray to protect the glass and make it shiny.